Agent Staffing
Agent staffing provides the ability to mass assign Agents to a queue, update their priority or skill level, change their ACD states, and assign Agents to supervisors within the queue.
Adding New Agents
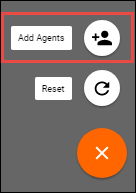
1. Select the Actions Icon and Add Agents Icon

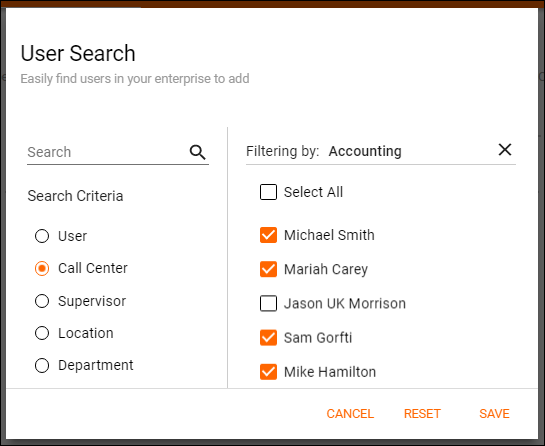
2. Locate and select agents in the advanced search by Call Center, Supervisor, Location or Department. Save.
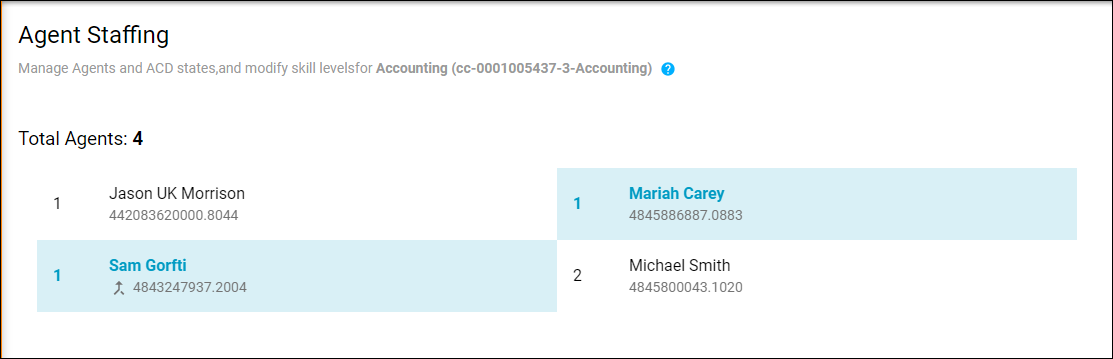
3. Newly added agents will appear on the Agent Staffing page.
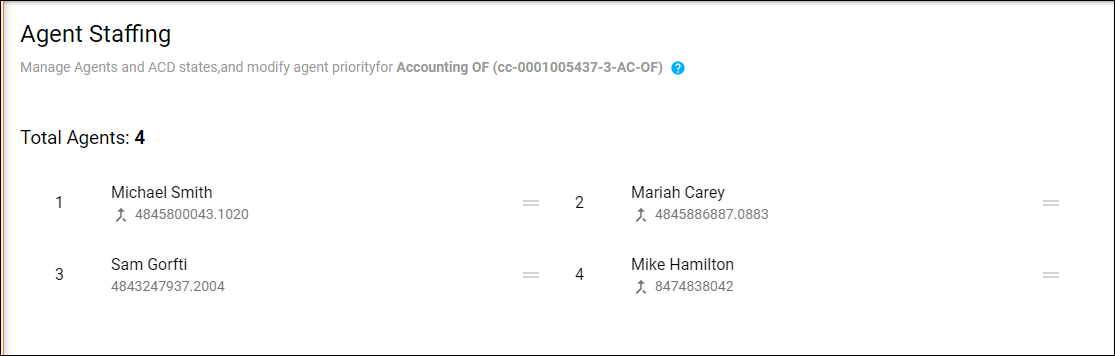
4. The following icon indicates that the agent is joined to the queue and ready to take calls if in an available state. If the agent does not have this icon next to their name, they must be joined to the queue to receive calls if in an available state.

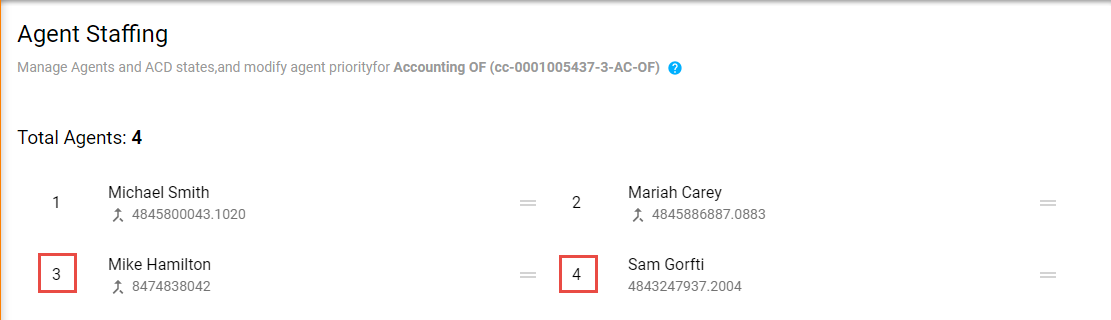
Update Agent Priority Levels
An Agent’s priority level can be adjusted when the hunting type is set to Regular, Circular, or Weighted for a Priority Routing queue. The order in which the Agents are listed will determine how and when the calls are routed to each Agent.
1. On the Agent Staffing page drag and drop the agents to adjust their priority level. Save.

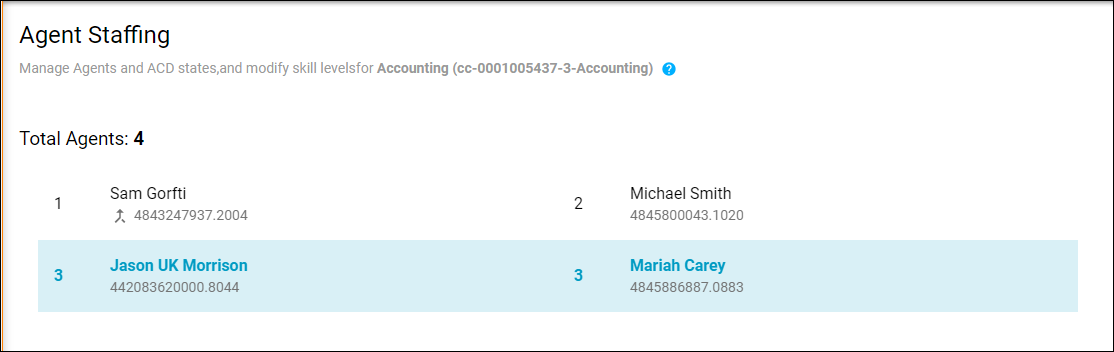
Update Agent Skill Levels
Skills-based routing gives call centers granular control over which Agents will receive specific call types. Agents with the highest skill level will receive queued calls first. If those agents are not available the system will look to the next highest skilled agent and so on until the call is answered. Skill levels are based on a 1-20 scale, 1 being the highest skill level and 20 being the lowest. An Agent’s skill level can be adjusted for any queue configured for Skills-Based Routing.
1. In the Agent Staffing click and highlight all the Agents that need their skill level updated.
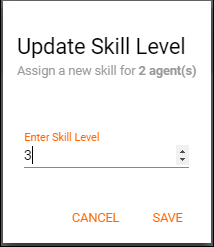
2. Select the Actions Icon and Update Skill Level Icon

3. The Update Skill level pop up will open. Enter in the new skill level. Save.
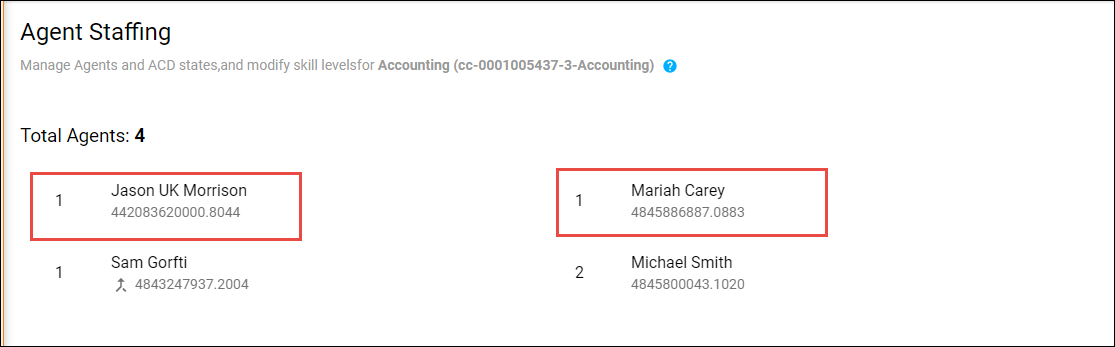
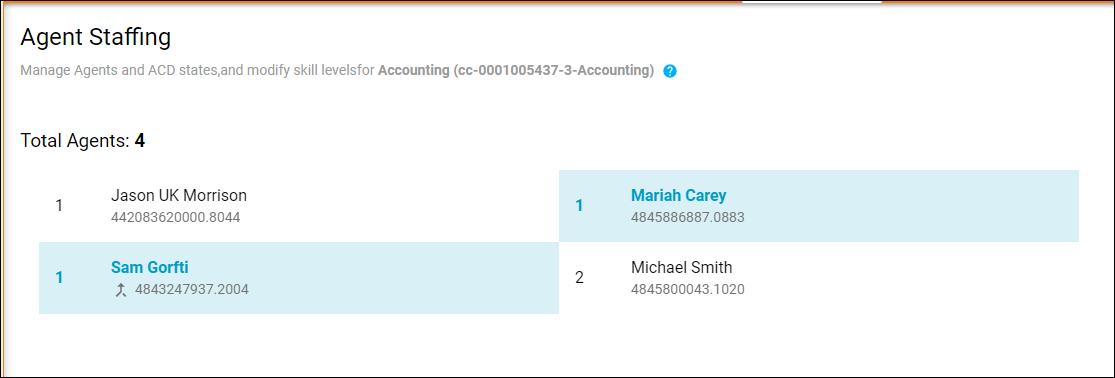
4. The selected Agent’s skill level will be updated and the Agent staffing will update to reflect the change.
Assigning Agents to Supervisors
1. On the Agent Staffing page click and highlight all the agents that need to be assigned to a Supervisor.
2. Select the Actions Icon and Assign to Supervisors Icon
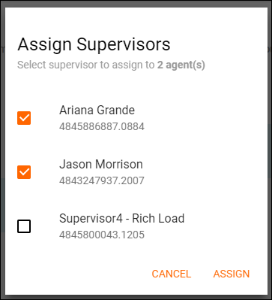
3. The Assign Supervisors pop up will open. Select the Supervisors to which the Agents should be assigned and select Assign.
4. A successful assignment message will appear in the Agent Staffing Window.
Changing an Agent’s ACD State
1. On the Agent Staffing page click and highlight all the Agents that need their ACD state updated.

2. Select the Actions Icon and Change ACD State Icon
![]()
3. The Change ACD State pop up will open. Select the new ACD state from the drop down and select Update.

4. A successful update message will appear in the Agent Staffing Window.
Removing an Agent
1. On the Agent Staffing page click and highlight all the Agents that will be removed from the queue.
2. Select the Actions Icon and Update Skill Level Icon

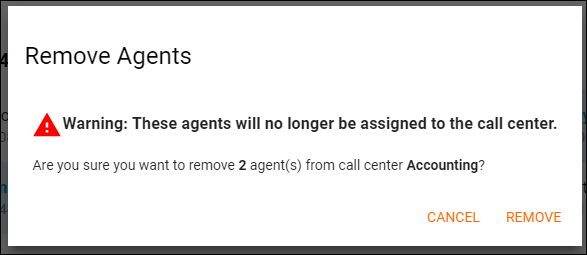
3. A popup will appear in the Agent Staffing Window to confirm you wish to remove the agents from the queue. Select Remove.