Implementation: Breaks
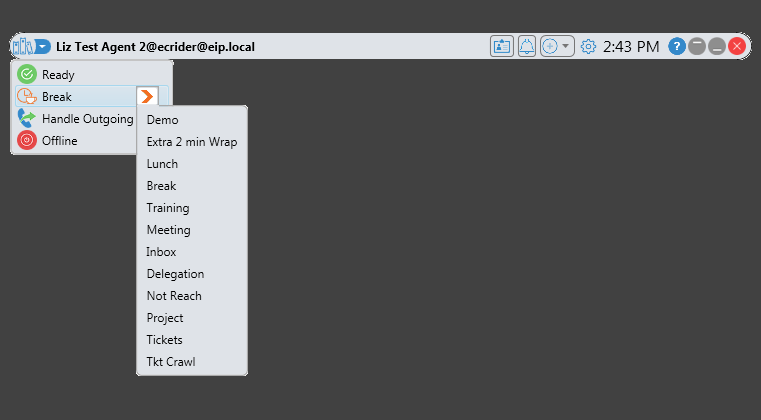
Breaks, also commonly known as unavailable codes, allows for the setup and management of the different break types agents can choose from when they go on Break or put themselves in an unavailable state to no longer receive business process interactions.
Adding a Break Type:
- Select the Add New icon

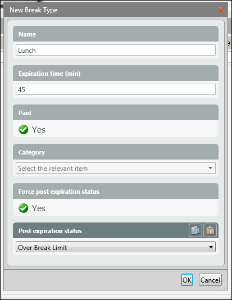
- A New Break Type window will open. Fill in the following information for the new Break:
- Name: Name of the Break
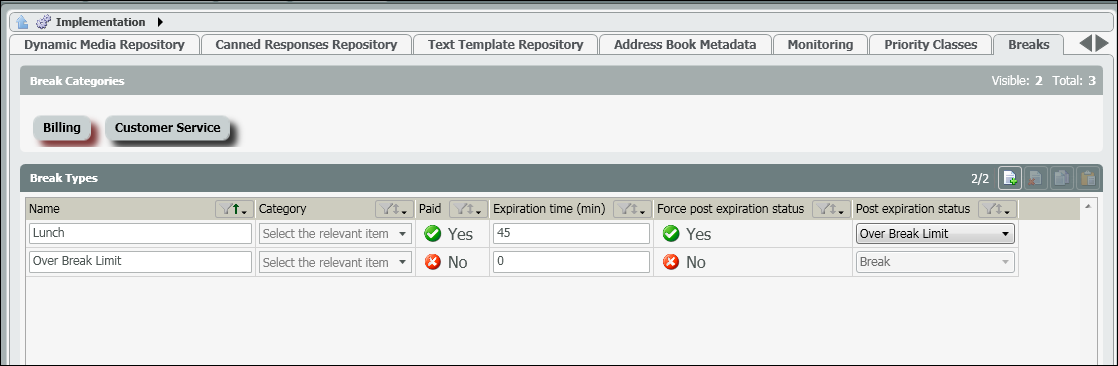
- Expiration Time: The set expiration time for a break. If the agent exceeds the set time, it will show up in red within the Agent Index tab on the Supervisor client.
- Paid:
- No – select no if the break is unpaid
- Yes – select yes if the break is paid
- Category – add to a break category. A break category is not a mandatory field.
- Force Post Expiration Status: Switch Agent Status after the break time has expired
- No
- Yes – if selected, the agents break status will change to the new break status selected in the Post Expiration Status. If the break as an expiration time of 15 minutes and they exceed that, this option will switch their status to a new break status. This allows Admins and Supervisors to track how often agents exceed their allotted break times.
- Post Expiration Status: Select the new status the agent will be set to after their original break time expires
- Select Ok.
- Continue to add the total number of break types needed.
- Save and deploy
On the Agents next login, they will have the ability to select the appropriate customized break.