...
Use Microsoft AppSource to install and deploy the Webex Scheduler, so that you automatically get updates to the Webex Scheduler.
You cannot use Microsoft AppSource to install and deploy the Webex Scheduler for Microsoft Exchange. |
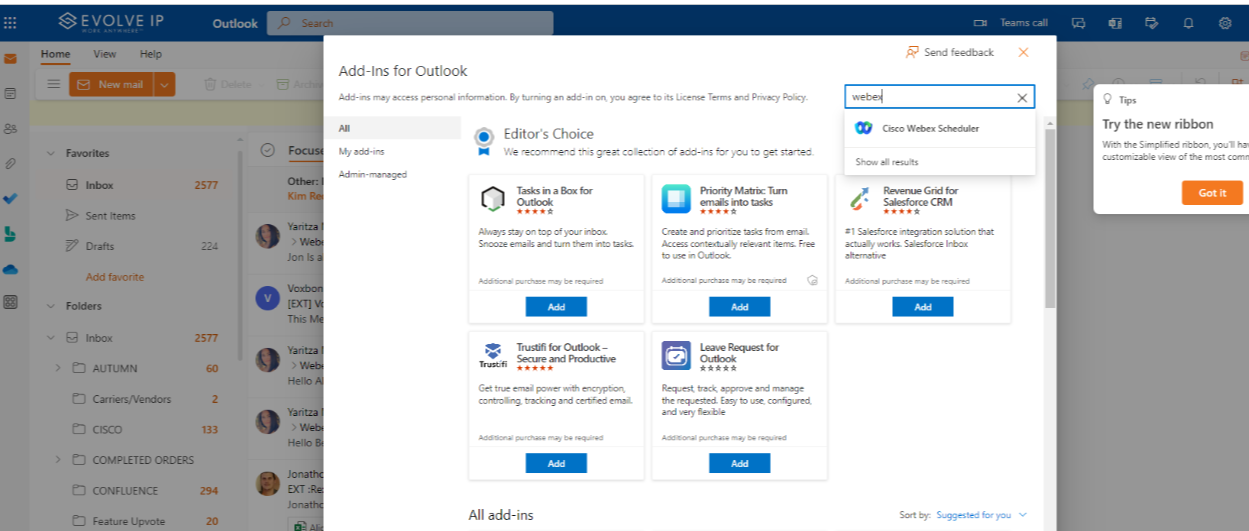
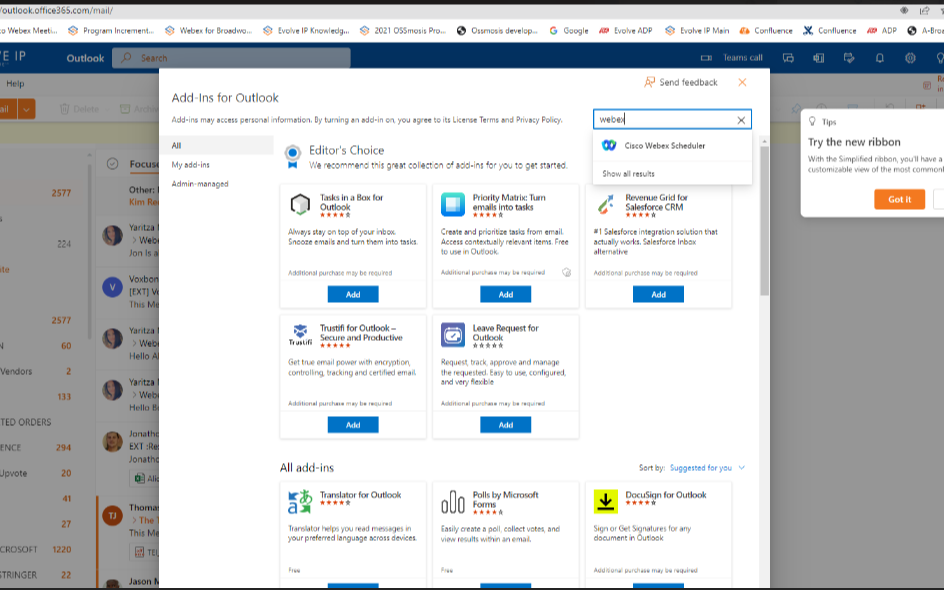
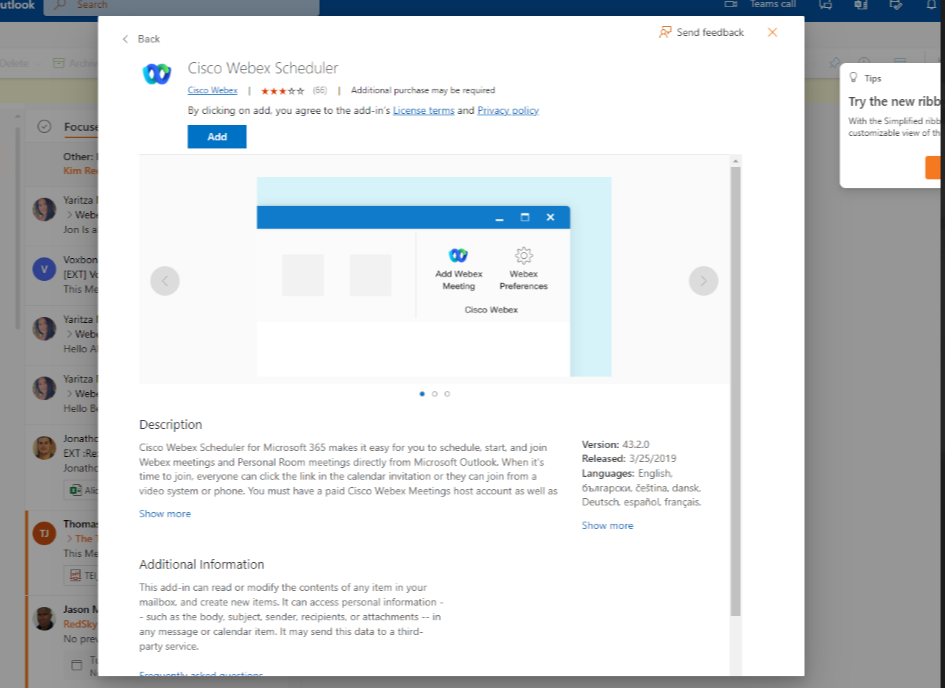
| 1 | Go to Microsoft AppSource. |
| 2 | Search for the Cisco Webex Scheduler app. |
| 3 | Select Get it now and follow the on-screen instructions. |
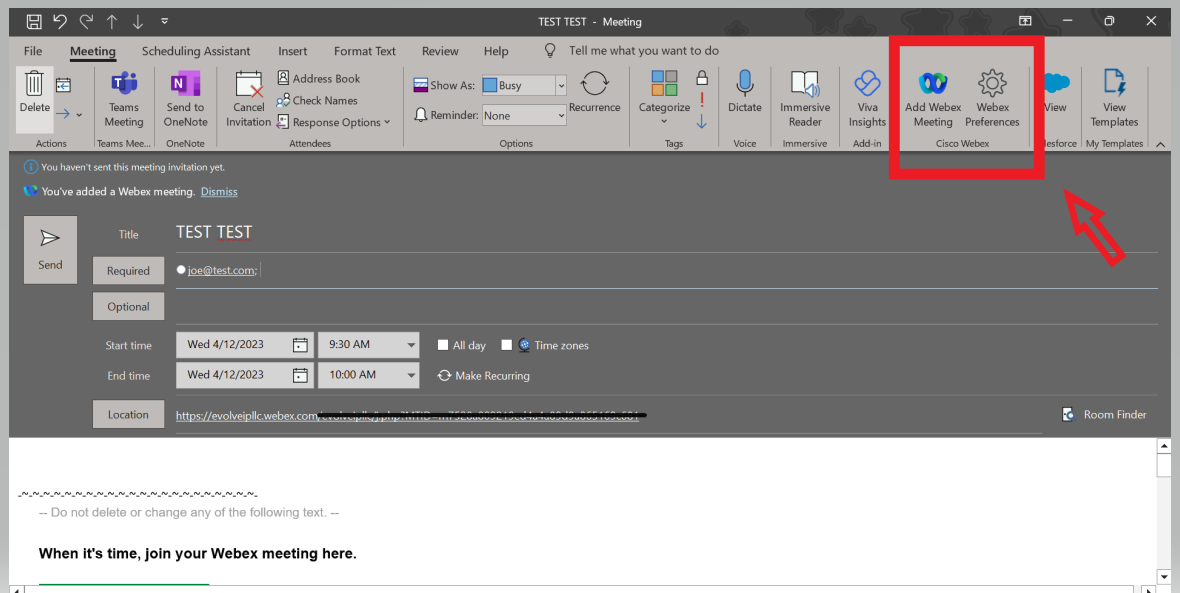
Install the Webex Scheduler from a manifest file
If you can't use Microsoft AppSource, you can deploy the Webex Scheduler from a manifest file.
Webex Scheduler does not automatically update with this method. Reinstall and redeploy the Webex Scheduler with the manifest file when you want to update it. |
*******Before you begin
For Microsoft 365
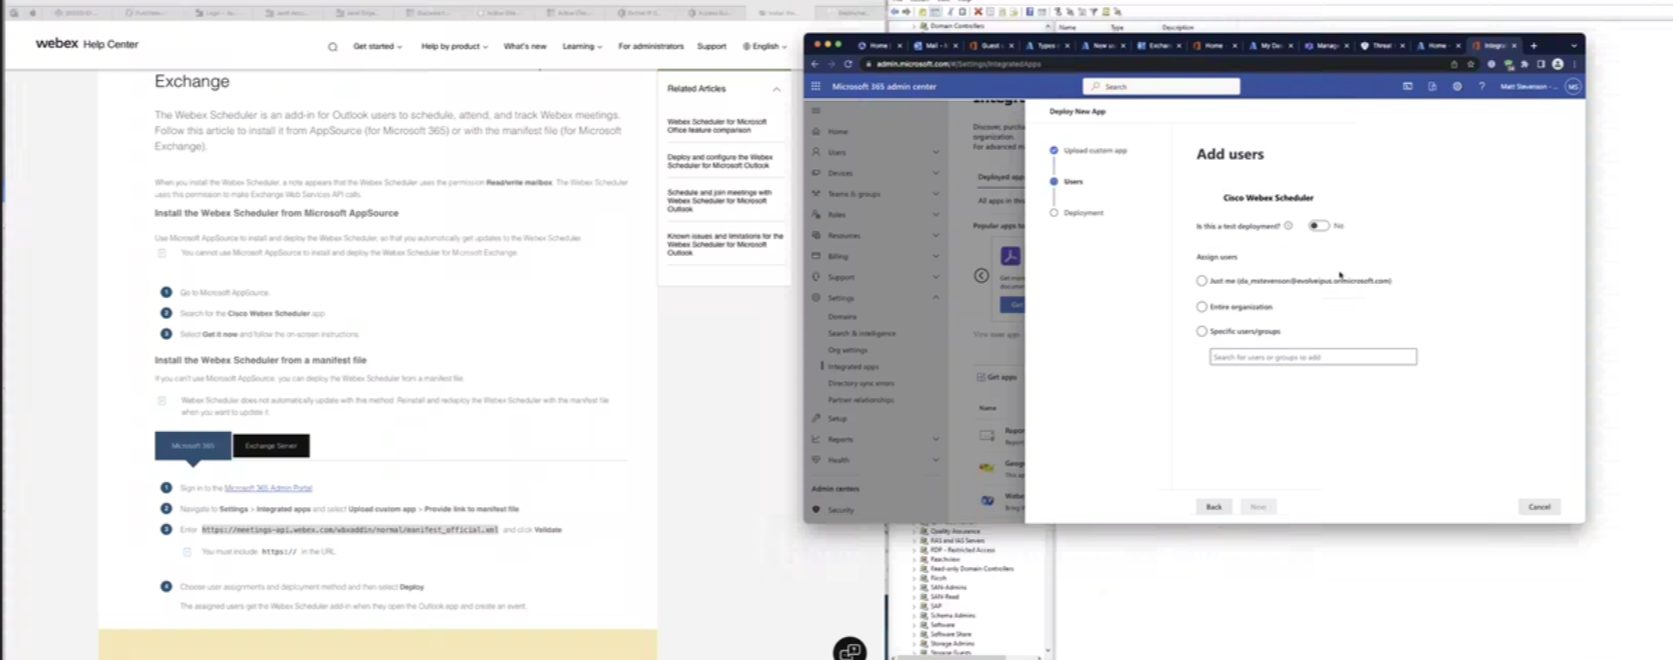
| 1 | Sign in to the Microsoft 365 Admin Portal. | ||
| 2 | Navigate to and select . | ||
| 3 | Enter
| ||
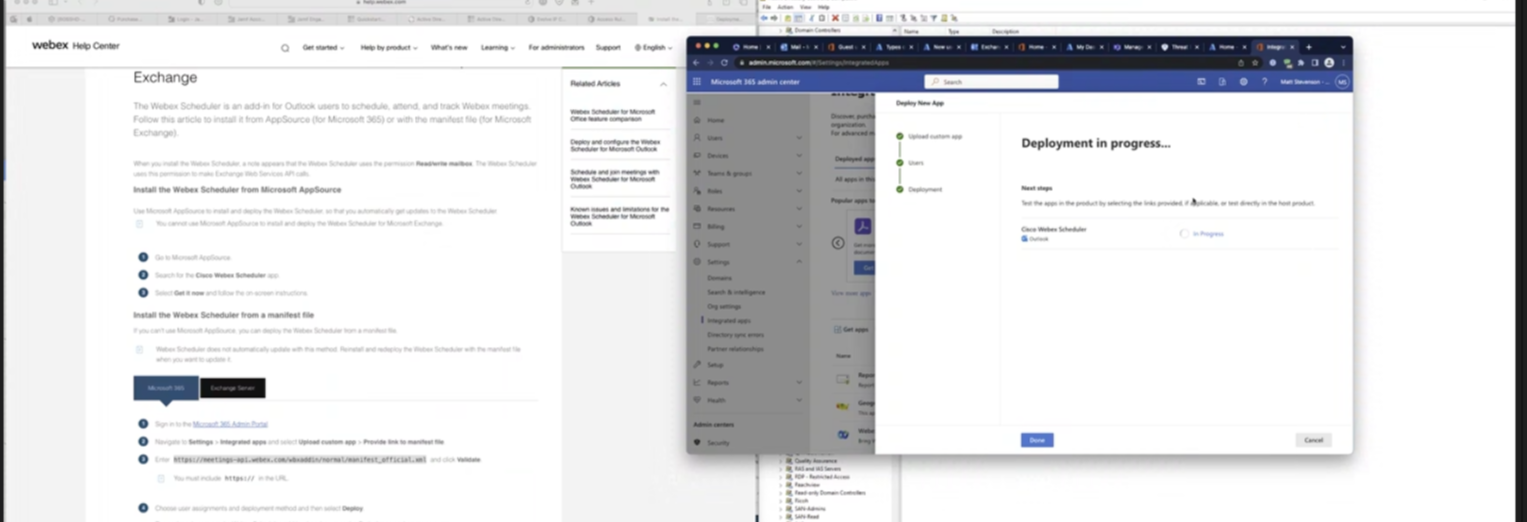
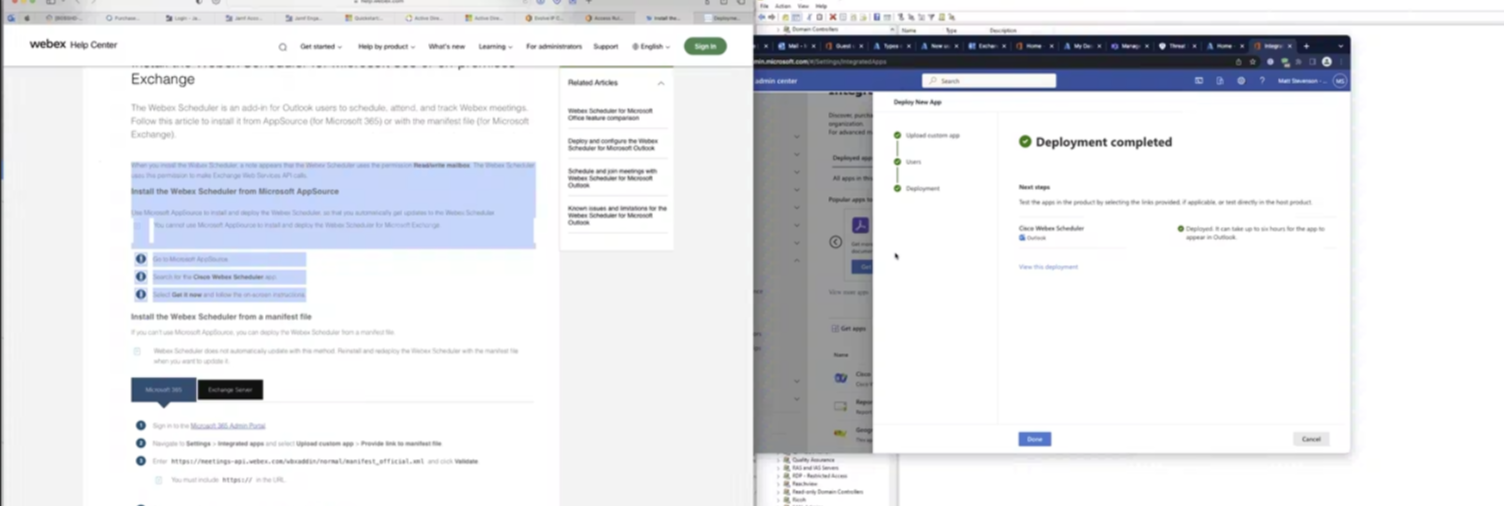
| 4 | Choose user assignments and deployment method and then select Deploy. |
*******Before you begin
For Exchange 2019, you can install the add-in directly from the URL.
If you are using Exchange 2013 or 2016, you must save a local copy of the manifest before you start. Get it from https://meetings-api.webex.com/wbxaddin/normal/manifest_official.xml.
| 1 | Sign in to the Exchange Admin Center. |
| 2 | Navigate to and select one of:
|
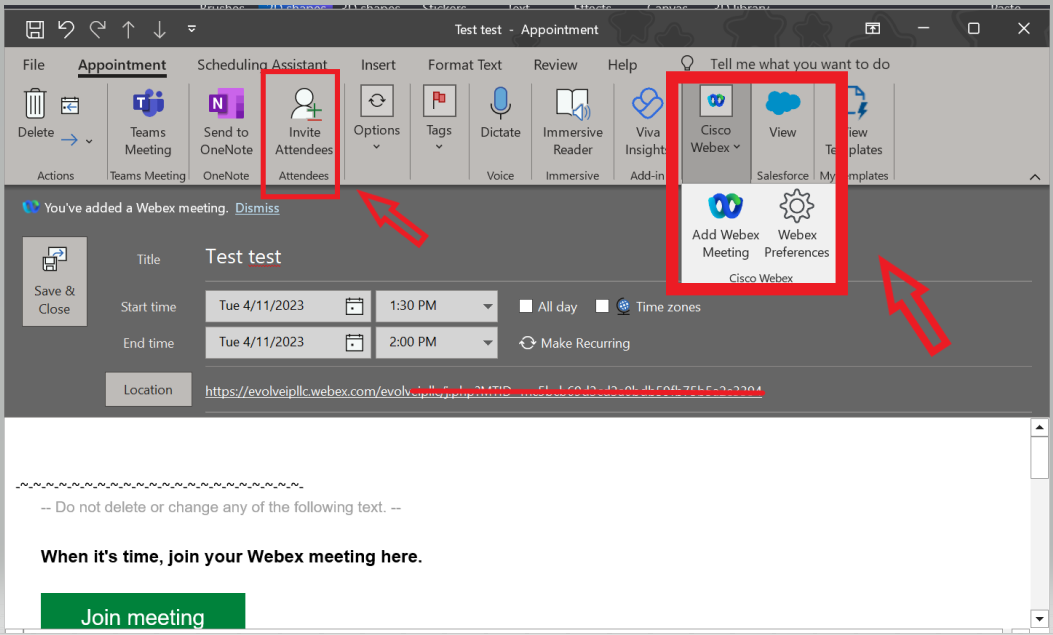
In Outlook:
Helpful Links
...