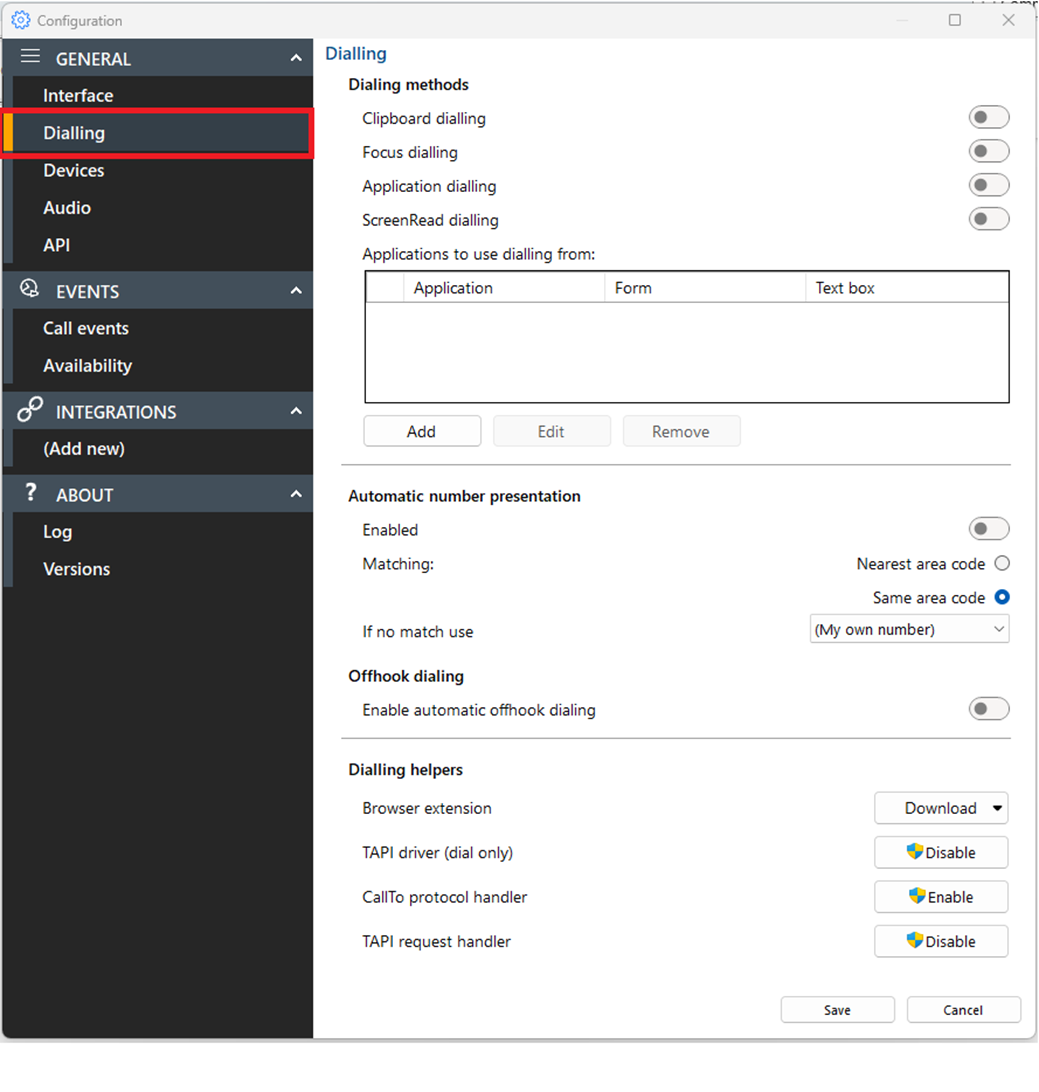
Configuration > Dialing
Manage outbound calling methods and outbound number presentation:
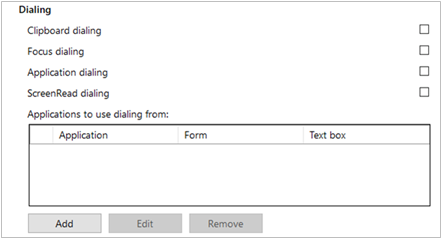
Dialing
Select the preferred method(s) for making outbound calls:
Note: Different dialing methods are offered for varying application types. Not all applications will support all dialing types.
Clipboard Dialing
Enables quick dialing by selecting telephone numbers and copying, either by key sequence or mouse click:
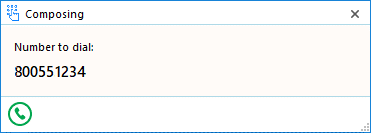
After the number is copied to the clipboard, a dial prompt notification appears in the corner of the screen.
Click the call button to initiate the outgoing call:
The pop-up prompt appears in the same location as the Preview Window – drag to a different corner to change where the notification appears
Focus Dialing
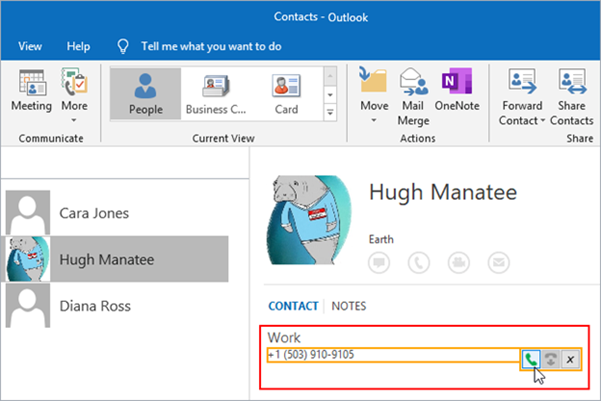
Presents a dial icon within compatible applications for any field in focus containing a telephone number:
Click the dial icon to initiate the outgoing call:
Note: The field must first be selected or in "focus" for the dial icon to appear and the telephone number must be in a valid format
Application Dialing
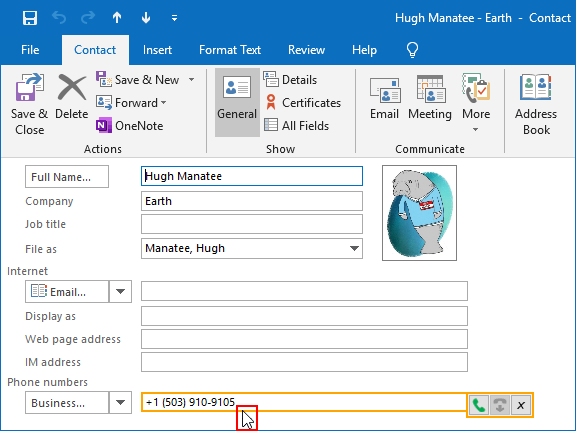
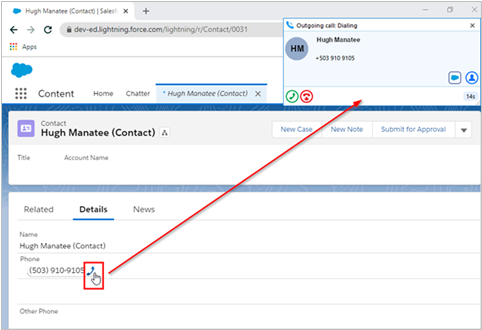
Presents a dial icon within compatible applications by hovering the cursor over a valid telephone number.
Click the dial icon to initiate the outgoing call:
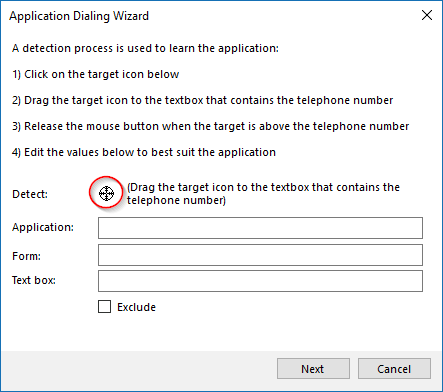
Note: Application dialing requires configuration using the Application Dialing Wizard, as follows.
Select "Add" to open the Application Dialing Wizard:
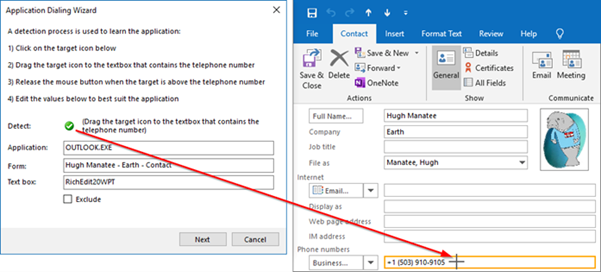
With the desired application open, drag the target to the appropriate field:
With the target on the telephone number field, the application details and green check will appear:
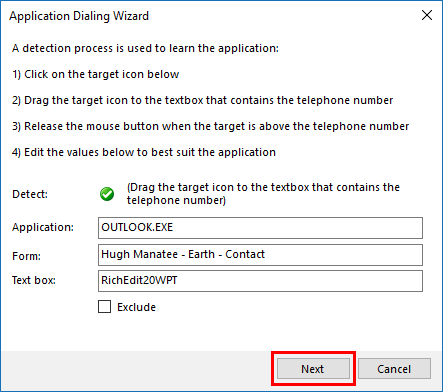
Select "Next", and then "Save"
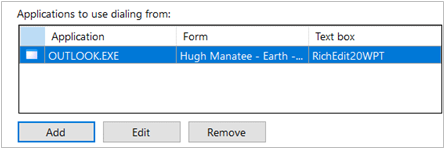
Applications configured using the dialing wizard are displayed in the dialing menu:
ScreenRead dialing
Enables any valid telephone number, detected through image analysis, to be dialed:
Move the mouse cursor over the telephone number you wish to dial and hold CTRL-SHIFT. The orange detection box appears and attempts to detect a valid telephone number. If the number is successfully detected, the telephone number will be converted to a Click-to-dial field – just click to initiate the outgoing call.
Note: Telephone numbers are not always detectable within images due to font style, alignment or image clarity.
Automatic Number Presentation
Enables which pre-configured telephone numbers or area code to present on outgoing calls:
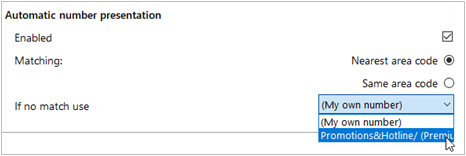
Select "Nearest area code" or "Same area code".
Select a number from the drop-down list if no match is found.
Note: Requires Call Center Premium DNIS features enabled in the Telephone system and pre-configured telephone numbers for the users/organization.
Automatic Number Dialing
Ticking this box will see the calls that enter the Dialback state automatically answered. Dialing will then proceed.
Number matching
Nearest area code: Uses nearest geographical area code configured in the Telephone system "Call Center DNIS number."
Same area code: Uses exact match of dialed number and Telephone system "Call Centre DNIS number."
Configuring BroadWorks Telephone system for Automatic number presentation
(For reference only - please consult your service provider for support.)
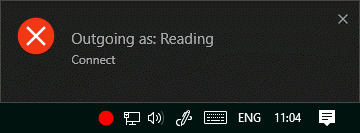
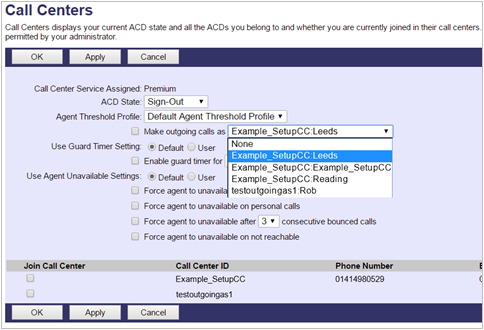
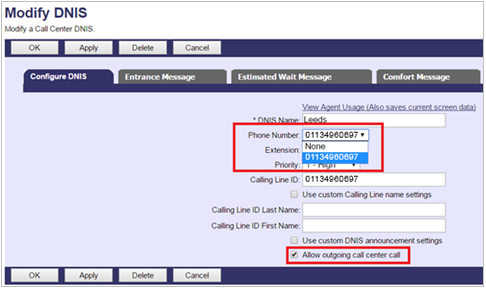
BroadWorks configuration for "outgoing as" - "Make outgoing call as" must be selected:
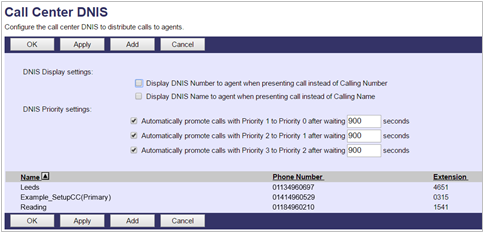
DNIS number setup:
Dialing Helpers
Select a Browser extension or enable traditional telephony dialing interfaces:
Browser Extension
Web dialing enables Click to Dial of detected telephone numbers directly from a web browser:
Select a web browser extension to install from the drop-down list:
Edge
Select Edge from the list of Dialing helpers in the configuration. The default Windows browser will open from this action. It is recommended to set Edge as the default Windows browser.
Select "Get":
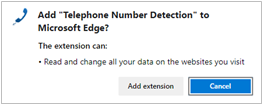
Select "Add extension"
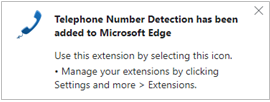
A confirmation will appear:
The extension is enabled by default (green):
The extension can be disabled by selecting it (red):
Opera
Select Opera from the list of Dialing helpers in the configuration. The default Windows browser will open from this action. It is recommended to set Opera as the default Windows browser.
Select "Add to Opera":
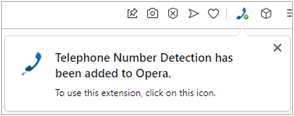
A confirmation will appear:
The extension is enabled by default (green):
The extension can be disabled by selecting it (red):
Chrome
Select Chrome from the list of Dialing helpers in the configuration. The default Windows browser will open from this action. It is recommended to set Chrome as the default Windows browser.
Select "Add to Chrome":
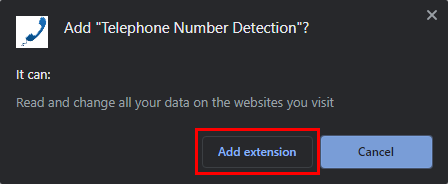
Select "Add extension":
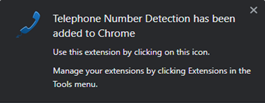
A confirmation will appear:
Select "Always allow" upon initial use to remember these settings:
The extension is enabled by default (green):
The extension can be disabled by selecting it (red):
Firefox
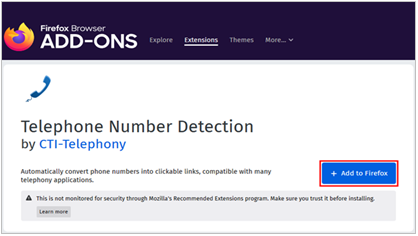
Select Firefox from the list of Dialing helpers in the configuration. The default Windows browser will open from this action. It is recommended to set Firefox as the default Windows browser.
Select "Add to Firefox":
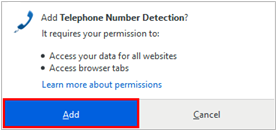
Select "Add":
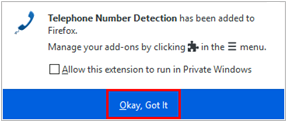
Select "Okay, Got It" to confirm:
The extension is enabled by default (green):
The extension can be disabled by selecting it (red):
Traditional Telephony Drivers
Enable TAPI driver (dial only), "CallTo" protocol handler, or TAPI request handler:
Note: Refer to the manual of your TAPI-enabled application to configure dialing.
