...
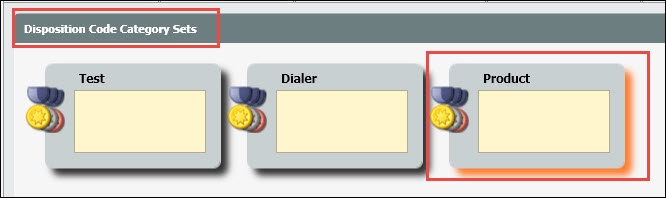
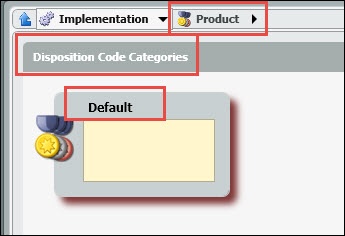
- Click on the Add New icon to add a new Disposition Code Category set

- Enter in a name for the new Disposition Code Category Set


- Drill Down into the new Category Set
- Add the categories that will fall under the high level category
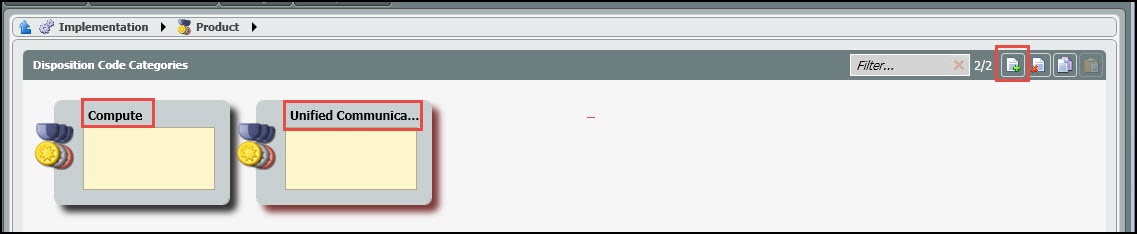
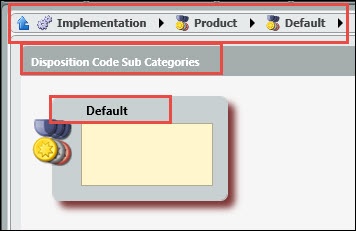
- Drill down into one of the newly created categories to add the sub categories
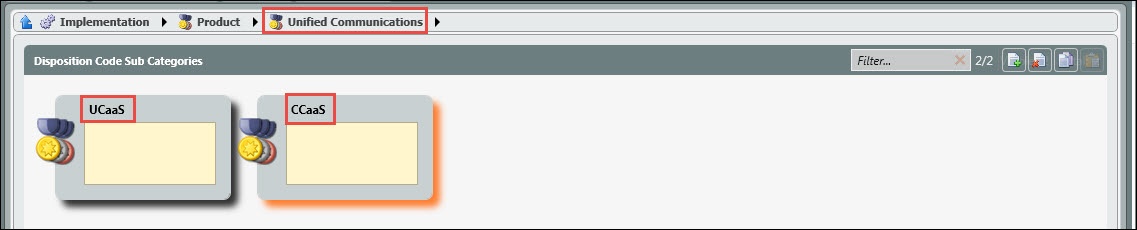
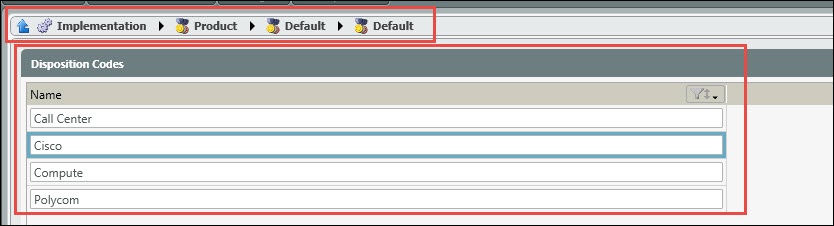
- Once the sub categories have been created, drill into a sub-category to begin adding the appropriate disposition codes.
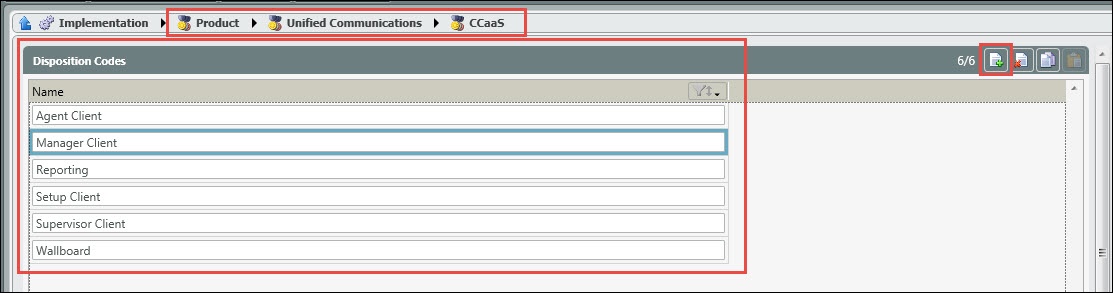
- Deploy Changes
Note: If you do not wish to have any sub-categories, simply create the high level disposition category, with a single sub category and add the disposition codes.
Example:
Adding a Disposition Code Set to a Business Process
...
- At the business process handling defaults, enable “Disposition Codes Mandatory”.

- When a disposition code is mandatory it will have a red background.
- The following error will pop-up when attempting to complete an interaction without a disposition code assigned.
- You can further configure the disposition code set (instructions above) and the disposition code timeout (Handling Timeouts > Enforce Disposition Code – Timeout) in minutes.
- The Disposition Code Timeout will set a time limit on when the interaction will no longer require a disposition code to complete.

NOTE: A global setting can be applied across all Business Processes that establishes a timeout parameter when an interaction will be automatically closed if a Disposition Code isn't selected. This setting can be found on the Handling Timeouts tab of the Business Structure.

In the "Enforce Disposition Code - Timeout" field, enter the number of minutes that agents are allowed to enter a Disposition Code before the system closes their interaction.
Agent View
When using multi-level Disposition Codes the agent will be able to select from the different Categories and Sub Categories within the client. The Sub Category and Disposition Code will populate based on the previous selection by the agent. If the agent knows the Disposition Code to assign to the interaction, they can select it without selecting a Category or Sub Category first. Once the Disposition Code is selected, the Category and Sub Category will automatically populate.
1 - Select a Category

2 - Select a Sub Category

3 - Select a Disposition Code

