...
- Work Phone
- Home Phone
- Mobile Phone
- Primary Address
- Secondary Email
How it works
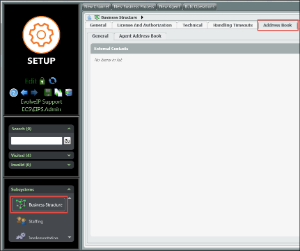
- Under subsystems, select Business Structure > Address Book
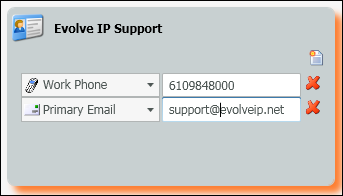
- Under the general tab, you will see External Contacts. Select the Add New icon to add a new external contact.

- A new contact window will open in the External Contacts pain.
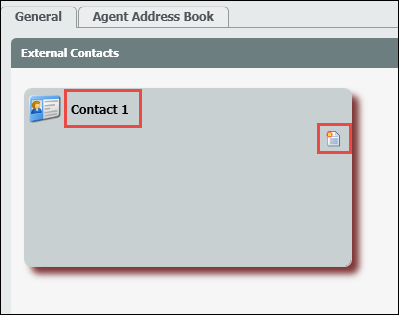
- Add in the name of the contact. Once a name has been entered, select the new contact field icon, shown in the image above.
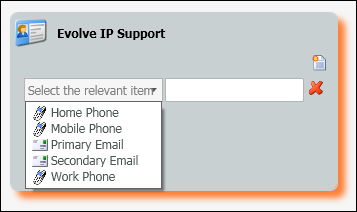
- Click on the ‘select the relevant item drop down’
- The drop down contains all available contact fields that can be selected for the contact. These available contact fields come from the Address Book Metadata. The above image shows the five default entries mentioned in the overview. If a custom entry is added within the Address Book Metadata, it would also be available within this drop down.
- Select a relevant item and enter in the phone number or email address in the open field.
- More than one entry can be added for a contact.
- Once created and deployed, all relevant contact information for the newly created contact will become available to the agents and supervisors in their contact directory found within their App Bar.
...
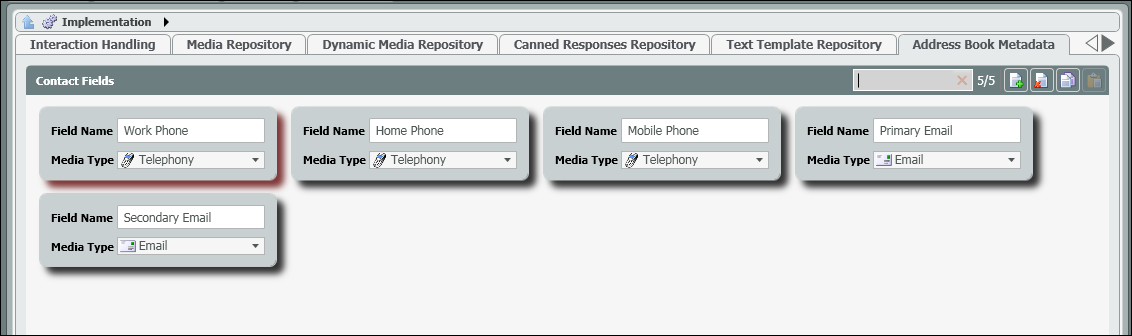
- Navigate to Implementation > Address Book Metadata and click on the Add New icon to add a new contact field.

- A new entry will open in the Contact Field pain.
- Add the name and Media Type for the entry
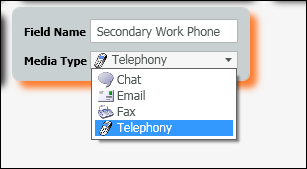
- Save your new entry. Now if you were to go back into the Business Structure Address Book, you would find Secondary Work Phone as a new contact field entry when creating new external contacts.
