Clearlogin Administrators can authorize contacts using Clearlogin
Authorized contacts are individuals within your organization that you have authorized to contact Evolve IP with technical, billing-related or administrator-related issues.
Please watch the video below or see the easy instructions provided below with the supplemental GIF animations to learn how to add or remove contacts.
| Widget Connector | ||||||
|---|---|---|---|---|---|---|
|
| Widget Connector | ||||||
|---|---|---|---|---|---|---|
|
Adding Contacts
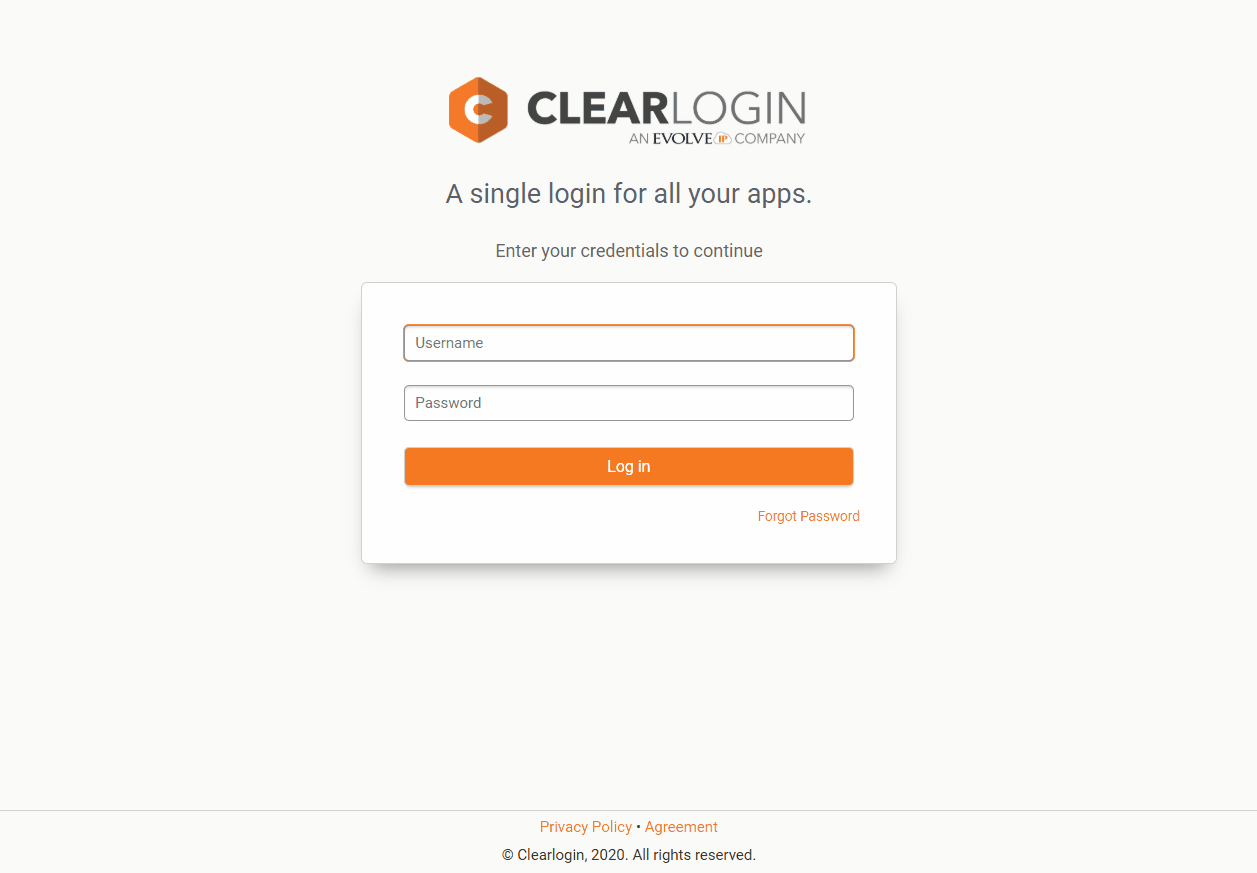
Login to your Clearlogin dashboard. This is a specific URL for your company, for example "yourcompanyname.clearlogin.com."
Info If you don't know your company Clearlogin URL please visit https://help.evolveip.net/ and login with your email address. If you have an Ossmosis 5 account, then this will bring you to your Clearlogin dashboard, and the URL at this site is your company's Clearlogin URL.
Note: By default your username is your email address, however users can change their username convention. If you have done so then you will need to use that convention instead.
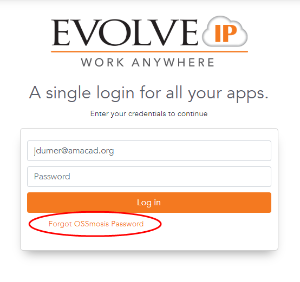
If you have forgotten your password to help.evolveip.net you can reset it with the "Forgot OSSmosis Password" link. as per the screenshot below.
Info You can also access Clearlogin administration directly by going to admin.clearlogin.com. If so please skip to Step 3.
- Click the "Admin Site" button at the top of the screen (this will only show for administrators)
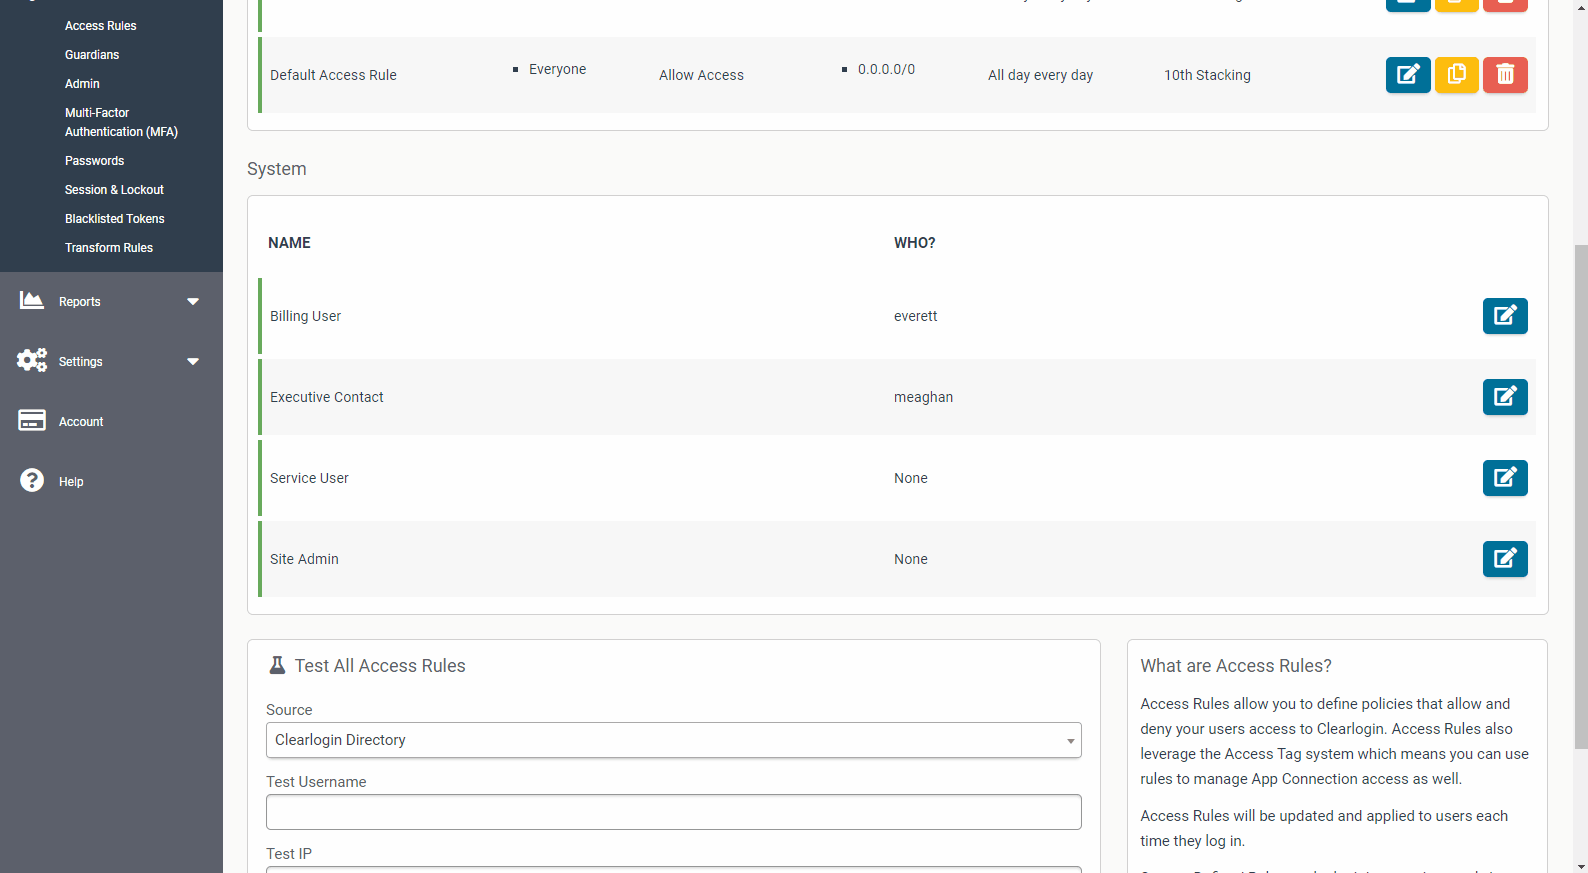
- Go to Security > Access Rules

- Scroll down to "System"
- Click the Edit Access Rule button
 for the group that you wish to edit.
 - Add your Authorized contacts.
- Click "Update Access Rule."
- Instruct your user/authorized contact to login to their Clearlogin dashboard (yourcompanyname.clearlogin.com) to establish their account.
Removing Contacts
- Go to Security > Access Rules
- Scroll down to "System"
- Click the Edit Access Rule button for the group that you wish to edit.
- Click the "x" symbol next to the contact you wish to remove.
- Click "Update Access Rule."