In This Article
Overview
Clearlogin Guardian MFA is designed to tightly control access to your resources. Using Guardian MFA requires the sign in of two people:
- The Guardian - This could be a manager in charge of the resources, or a teacher in a classroom.
- The User - This is the person who will gain access to the resources, and can be an employee, front-line worker, or a student in a classroom.
With Guardian MFA, the designated guardian will use their credentials to sign in on behalf of the user after the user signs in themselves.
In addition to using Guardian MFA to control access to your resources, you can also use it to delegate permissions to a group of guardians who are allowed to reset the passwords for a group of users. For example, in an education environment you can delegate permissions to a group of teachers giving them the ability to reset the passwords of their students.
Planning for Guardian MFA
When planning for Guardian MFA here are the steps to take:
- Determine who will be the guardians, and who will be the users the guardians will manage.
- Create some groups in your directory for the guardians and for the users.
- Create one or more access rules that includes one or more of your Guardian groups.
- Create one or more access rules that includes one or more of your User groups.
- Associate the the access rule for the guardians with one or more user access rules (one to many).
- Test the sign in process and/or the password reset process.
For more information on Clearlogin access rules, refer to the Access Rules article.
Enable the Guardian MFA Provider Service
- Sign into the Admin Portal: https://admin.clearlogin.com
- Select Security > Multi-Factor Authentication (MFA) from the left-hand navigation bar.
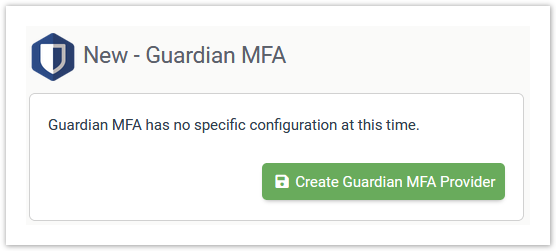
- Click on the Guardian MFA provider button, or the New MFA Provider button, and then the Guardian MFA button.
- Clearlogin Guardian MFA doesn't have any configuration steps. Just click on the Create button to enable it.
Associate Guardians with Users
Before associating the guardians with their users, you need to have the access rules configured. For information on creating and configuring access rules, refer to the Access Rules article.
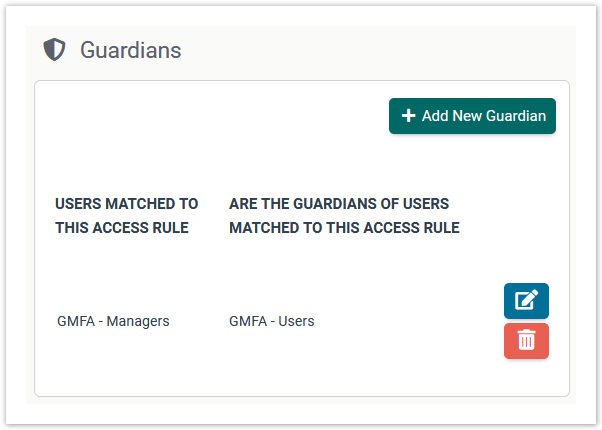
The association with guardians to users is one to many:
- One access rule for the guardians
- One or more access rules for the users
Keep in mind that if you created groups in your directory, you can include multiple groups in an access rule. Therefore, you can create an access rule for the guardians that includes multiple groups.
Additionally, you are not restricted to just creating one association. You can create as many associations as you need.
Once you have the access rules configured, use the following steps to associate the guardians with their users:
- Sign into the Admin Portal: https://admin.clearlogin.com
- Select Security > Guardians from the left-hand navigation bar.
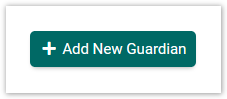
- Click the Add New Guardian button.
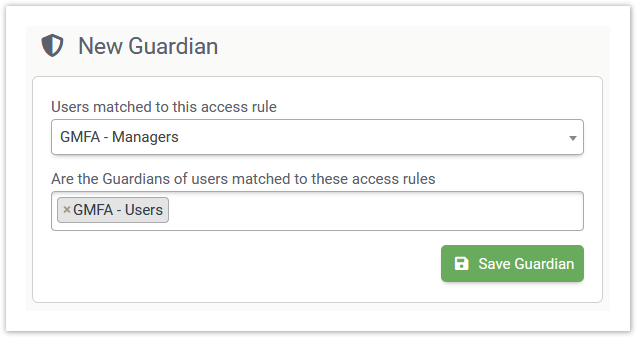
- On the configuration page:
- From the drop-down list, select the access rule that includes the guardians.
- In the field below, enter one or more access rules that includes the users managed by the guardians.
- Click Save when you're done.
- Here's a screenshot of what the summary page looks like after an association has been created.