Implementation: Special Days
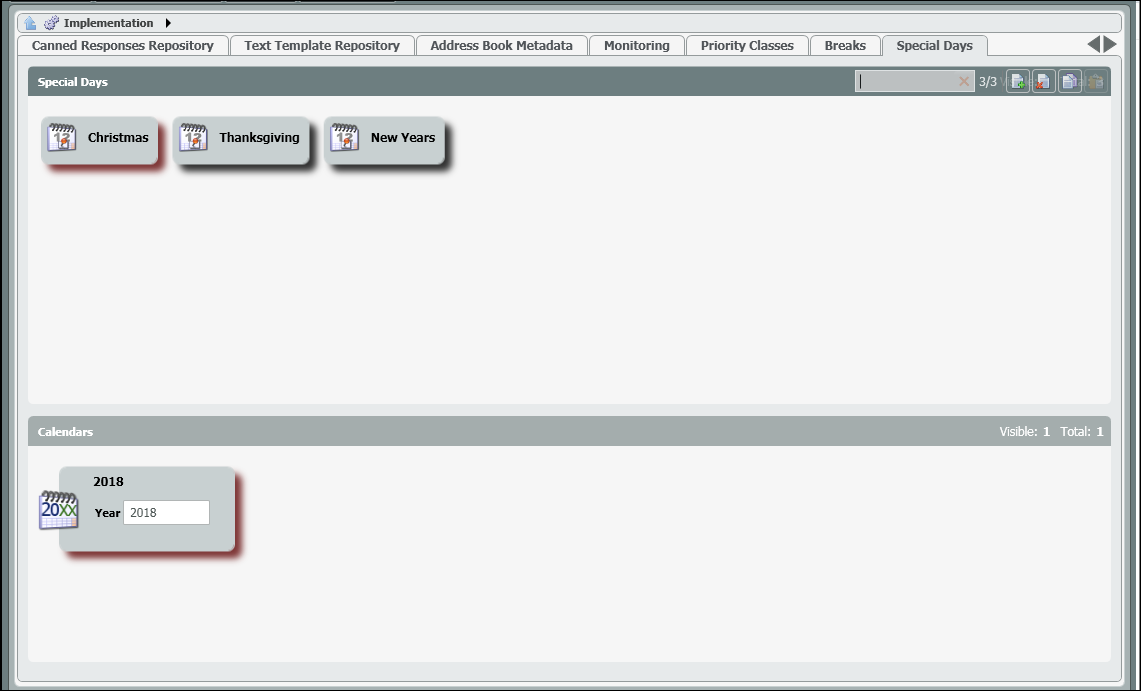
Special Days make up all the holidays and special days that an organization may close their office or operate on a different schedule than their regular business hours.
How to Add Special Days
- Select the New Icon next to Calendars
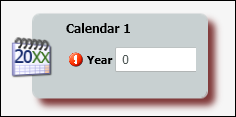
- A new calendar node will open.
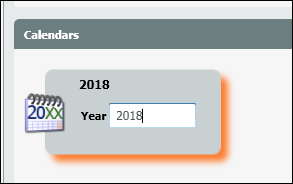
3. Name it for the Calendar year you are going to assign the special days. Enter in the correct year in the year entry box.
4. Select the New Icon on the Special Days tab.
5. Add and label all the holiday/special days needed for the calendar year.
6. Drill down into the newly created calendar.
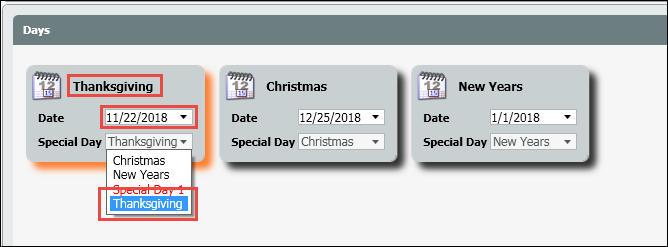
7. Select the add New Icon on the Days tab
8. In each new day entry, label it, enter in the date when the special day will occur, and from the special day drop down select the special day (created in the special days section – steps 4 & 5 above ) to associate with the date.
Adding Special Days to Operating Hours
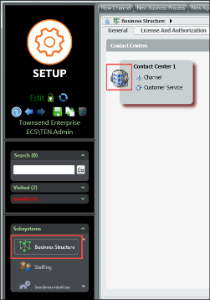
- Select Business Structure under subsystems.
- Drill down into the contact center.
3. Next to Operating Hours, from the Add new drop down, select Operating Hours on Special Days view.
4. This will bring up the list of all special days created.
5. If your Enterprise will be closed on all special days, leave each special day unchecked.
6. For special days you will remain opened, check off the special day and specify in the “From” and “To” when the office will be open on that special day.
7. If you have multiple specials days open, but with different operating hours, you will need to select Operating Hours on Special Days view to bring up the list of operating special days a second time. In this second view you will need to select the special day you are open and the operating hours that differ from the previous special day operating hours.
8. Save and Deploy
Utilizing Dynamic Announcements
Dynamic announcements are used in conjunction with Special Days scheduling and provides Admins the ability to replace special day announcements on-the-fly without impacting services. The announcement will be played only on the special day defined in the operating hours.
Admins can access and update the exiting special-days announcement and chat prompt by accessing the Dynamic media repository and selecting a new audio file.
Changing the next special day announcement to a new announcement:
- Select the Implementation sub system
- Select dynamic Media Repository tab
- Select the New Icon
- Enter in the name and text of the announcement. The “text” is what will play in your Chat sessions during special days
- Click on the Browse (folder icon) and select a new announcement file
- Select the recorded file from your PC (where you saved it on your computer)
- You can verify the file is correct by clicking on the green arrow at any time to play back the file
- Deploy your changes
A new announcement can be added for each holiday
or
Upload a new .Wav file in the existing announcement and update the chat text. This will automatically update the file where it is currently being utilized in the interaction handling flow.
Typical Channel Interaction Handling flow:
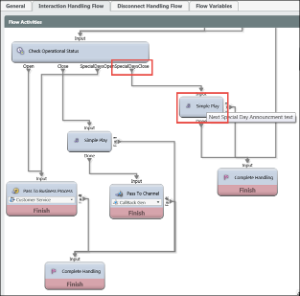
The Channel Interaction Handling Flow
Note that Check Operational Hours activity includes 4 types of exits:
- Open, Close – executed according to week-days operating hours
- SpecialDaysOpen, SpecialDaysClose – executed according to special-days operating hours
On the Special Days that are closed, it is connected to a Simple Play to play the Dynamic Announcement added within the simple play. The Simple Play activity will play the Dynamic Announcement audio file in case of voice calls and display the text prompts in case of chat sessions.
