Overview
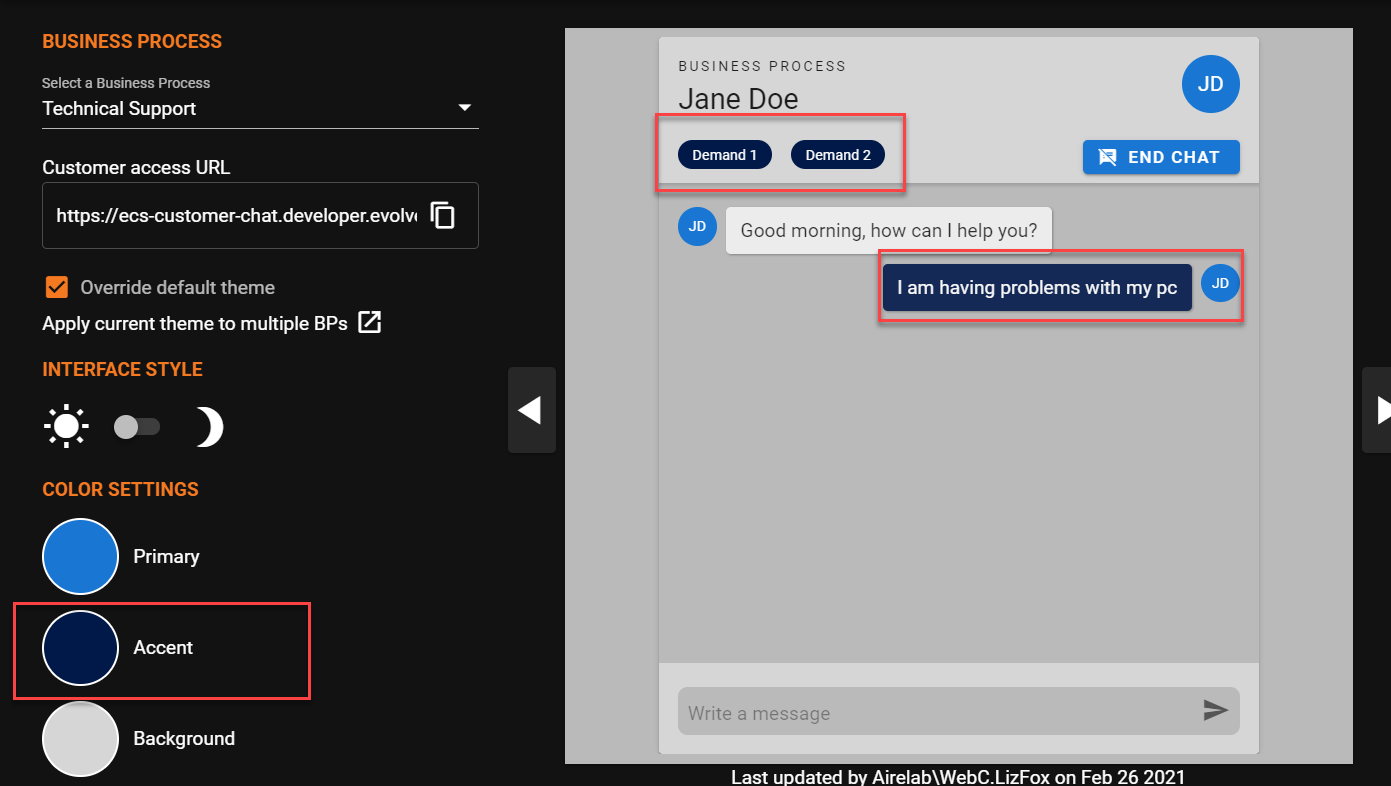
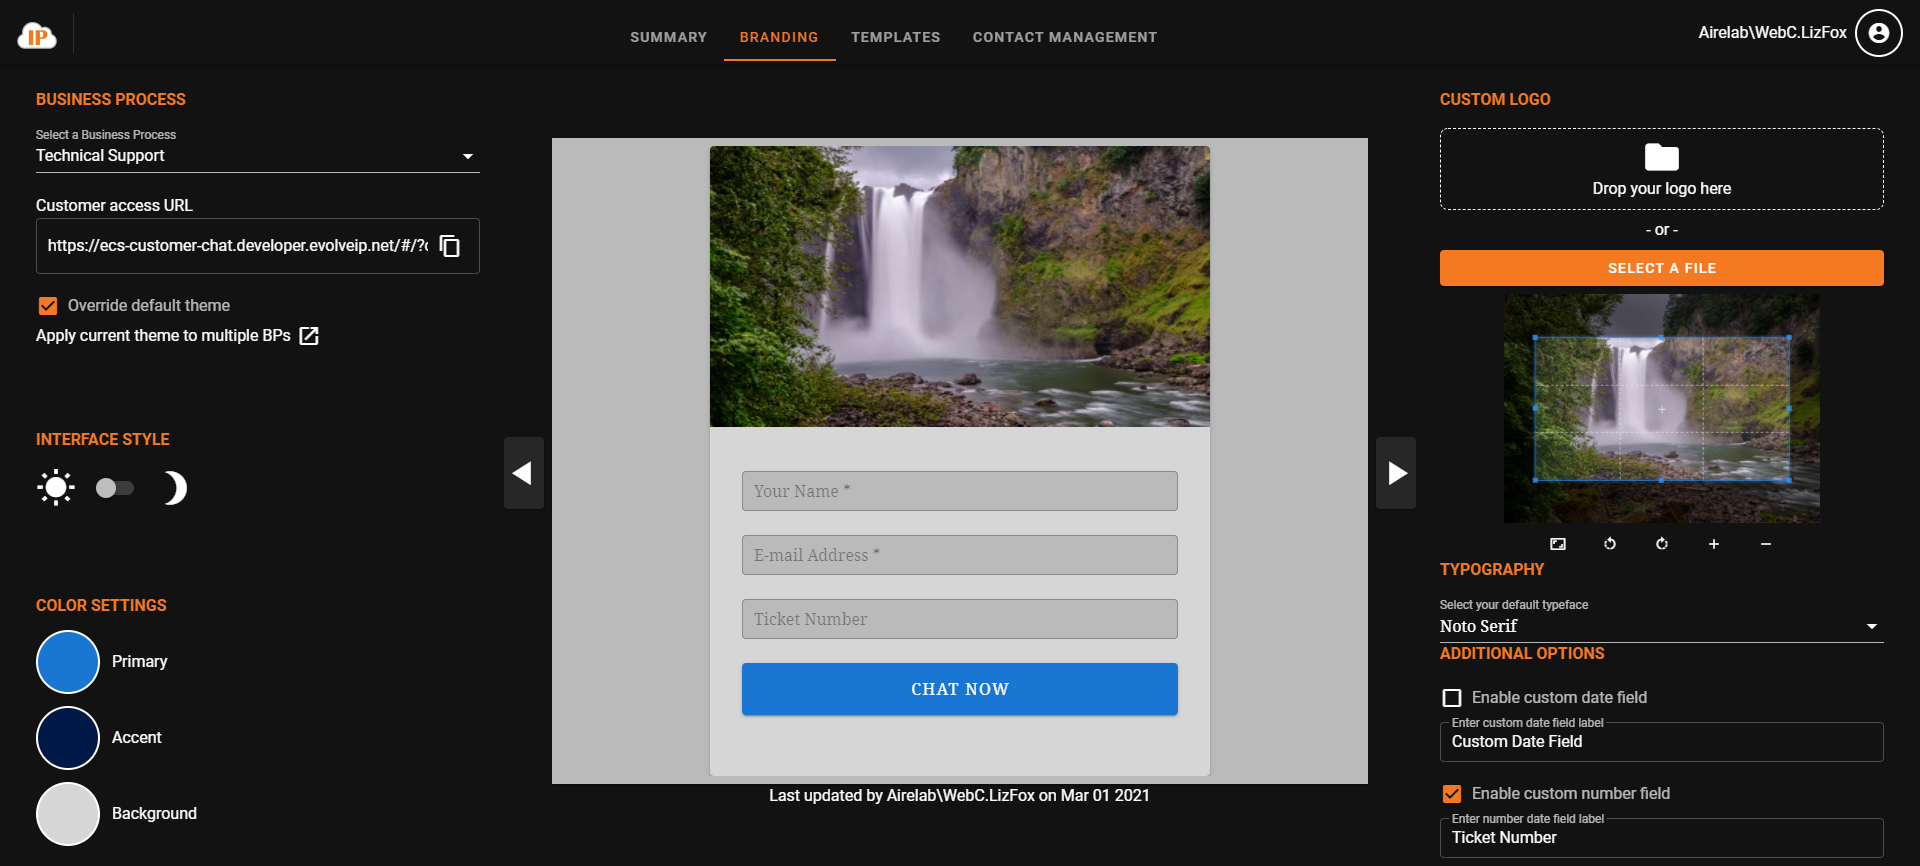
Within the ECS Admin Branding page you can customize the customer facing chat interface at a per BP Level by customize the font, logo, color settings, interface style and data fields for customer entry.

- Business Process - select the business process to customize. The default theme will apply to all Business Process utilizing chat if no other templates are created.
- Interface Style - select between a dark or light mode for the interface
- Color Settings - customize the Primary, Accent and Background colors
- Custom Logo - upload custom logo
- Typography - select desired font for interface
- Additional Options - option to show two additional customer input fields: Date and Number. Name and Email address are always mandatory.
- Preview Pane - provides a preview of your customized template
Customizing the Chat Interface
Selecting a Business Process:
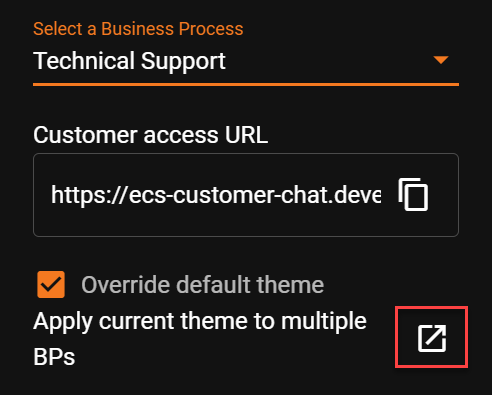
- Select a Business Process to customize from the drop down. If you choose to select default, this will become the default theme for all Business Processes utilizing chat.

2. To customize a specific Business Process, select the BP from the drop down and check off the Override Default theme check box. This will override the default theme currently in place and save the new theme to the Business Process selected.

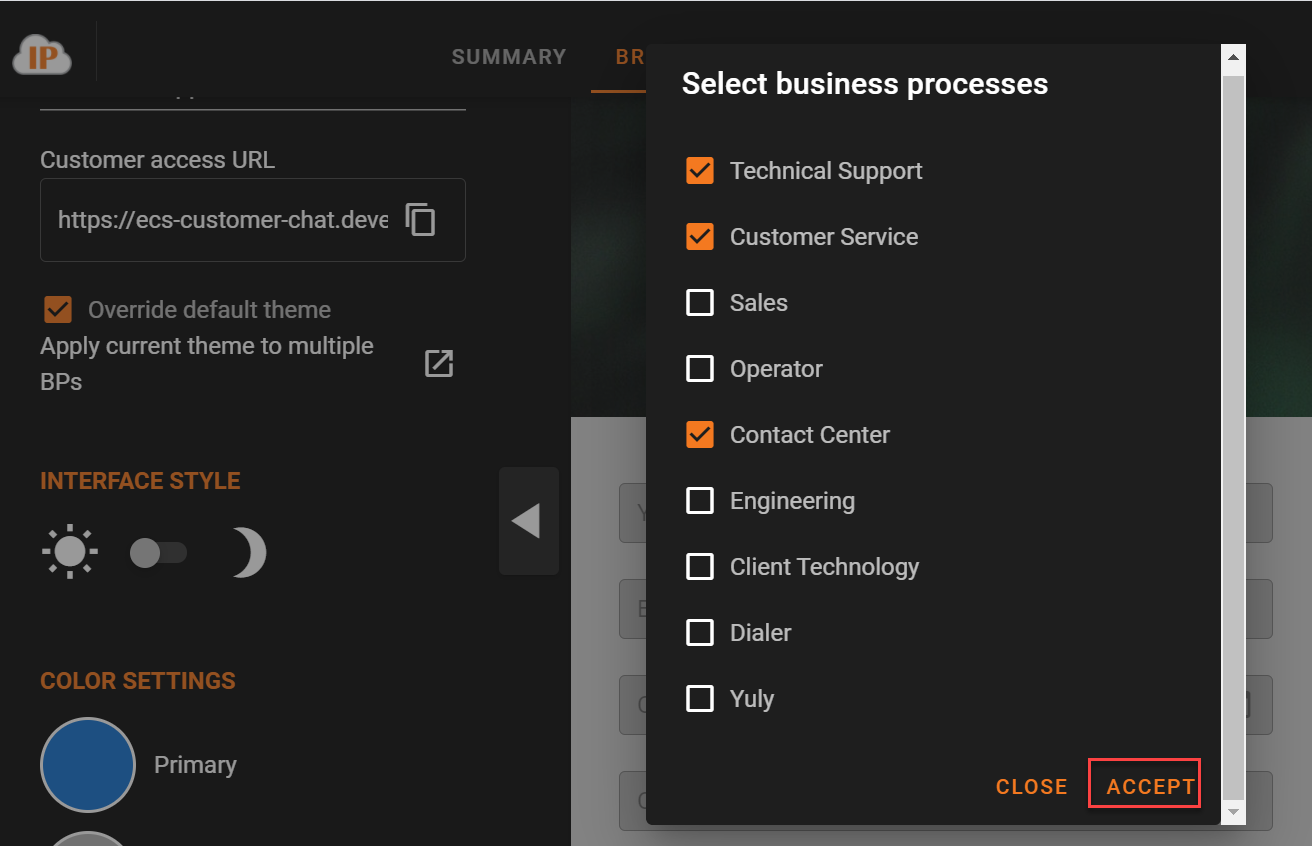
3. If you wish to apply the customized theme to a select few Business Processes, check off the override default theme option and click on the 'Apply current theme to multiple BPs' pop out.
a. A new window will open for you to select which BPs you want to apply the customized chat interface. After selecting the relevant BPs, select Accept to apply the changes.
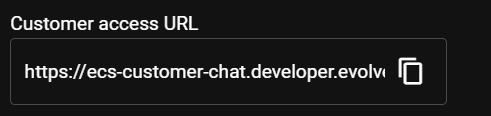
4. The Customer Access URL is the URL you will utilize to implement chat within your organization. When ready, select the copy text icon to copy the full link.
|
|
|---|

5. Once the Business Process have been applied you can select the Interface style for the interface.
Choosing an Interface Style
The interface style lets you choose whether your prefer your color settings and interface to be in a light  or dark
 ![]() more theme for the chat interface. You can toggle between to two to get a better idea of what each setting will look like based on your color settings. This may be one of the last settings your finalize after you have decided on a logo and color settings.
more theme for the chat interface. You can toggle between to two to get a better idea of what each setting will look like based on your color settings. This may be one of the last settings your finalize after you have decided on a logo and color settings.
Color Settings
Each color setting, Primary, Accent and Background, can be customized.
- Select the color palate for each option to customize

2. Selecting the color will open up a new window to either manually enter in the new color or select from the color bar. When you select a new color your preview template will update to reflect your new color choice.

|
|
|---|


Custom Logo
- Add a custom Logo by either dragging in the Logo or selecting a file from your desktop.
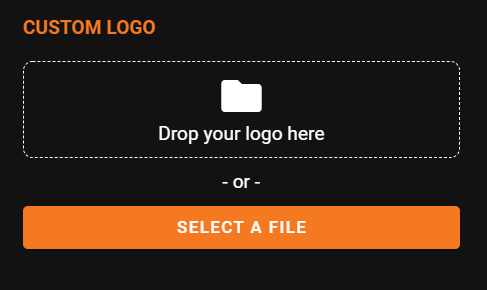
2. Once a logo has been added you will have the ability to modify the position and size of the logo within the logo preview window. As you adjust the logo you will see changes in real time within the Chat Preview pane.
|
|
|---|


Typography
From the dropdown select the font you wish to utilize throughout the chat interface. The font will update within the Chat Preview pane as you make your selection.
|
|
|---|
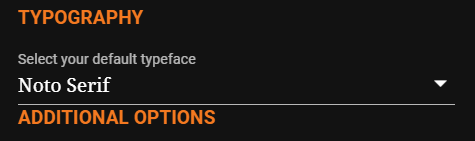

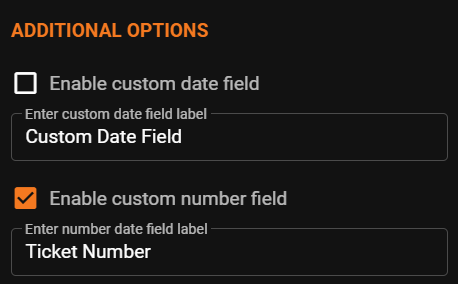
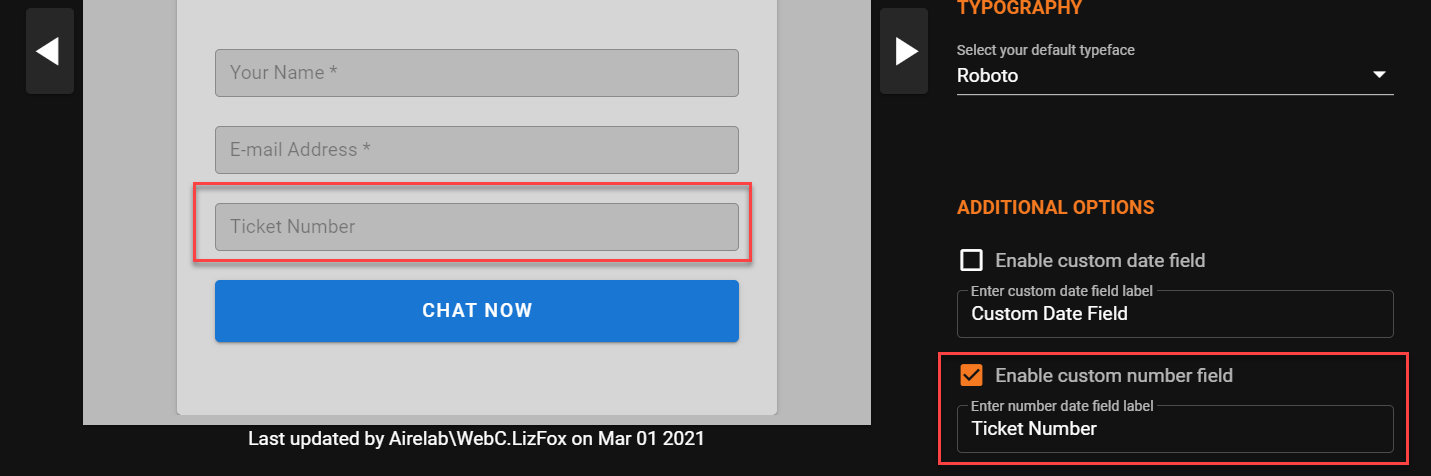
Additional Options
Name and Email Address will always be mandatory for a customer to initiate a chat. These fields cannot be removed or edited. However, Date and Number field are optional fields that can be included when deciding on which fields the customer must fill out to initiate a chat.
- Select to enable or disable the custom date and number field. Both entry labels can be modified to be unique to your entry needs. The fields will update within the Chat Preview pane as you make your changes.
|
|
|---|
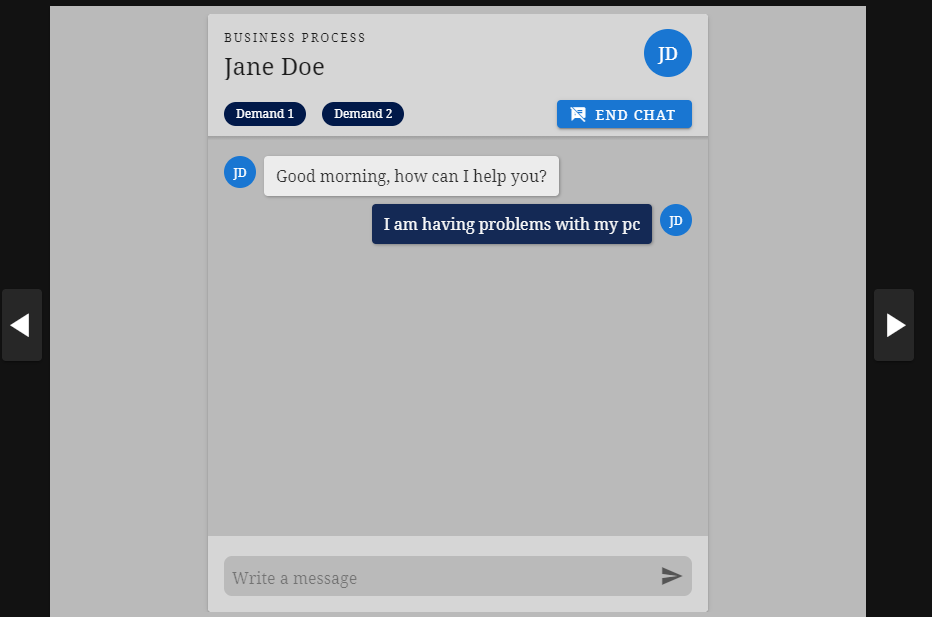
Preview Pane
Once you have made all your selections, use the arrows within the Preview Pane to get a preview of your changes and what will be shown to your customers when attempting to initiate a chat interaction. It is important to note that you must utilize the Customer Access URL under the Business Process section mentioned above when you are ready to implement chat.
Initial Chat Initiation Screen

Customer Chat Selections

Chat Window