Summary
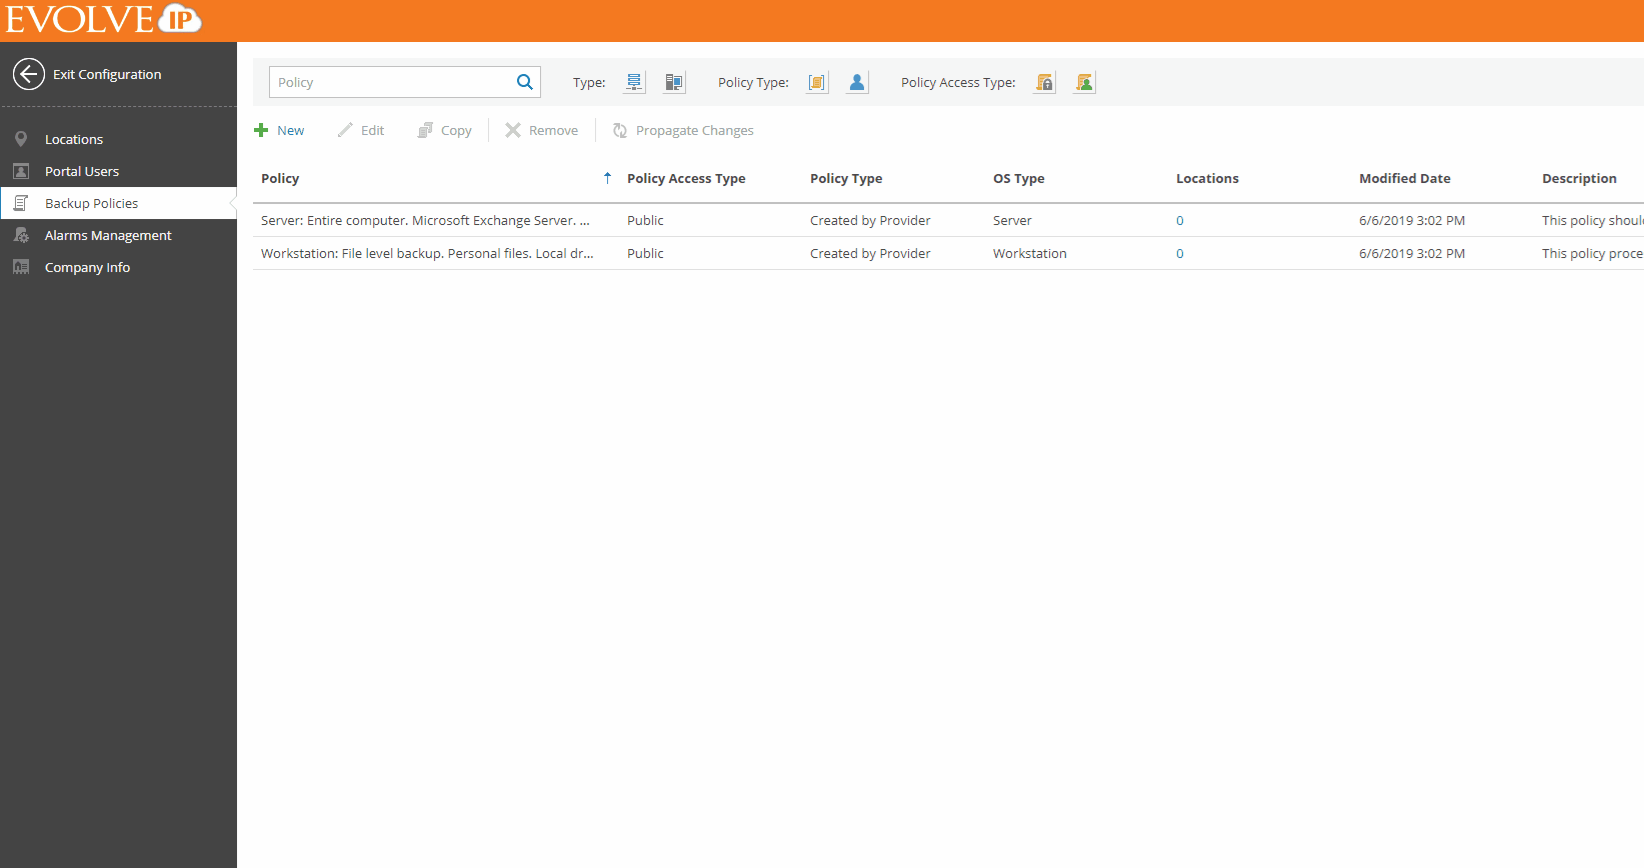
The first step in backing up your systems is to create a Backup Policy. It is best to create your own custom policies for each machine type or discovery rule you will create. These can backup files on the system or the entire system-state. Backup policies are then applied to machines that are found utilizing discovery rules. You can copy existing policies and remove policies that are no longer in use.
For Linux machines, the backup policy is set after installing the software manually here Install Veeam Agents for Linux.
| Procedure | Example |
|---|
- Once logged into the system navigate to Configuration in the upper right corner.
- Then click on Backup Policies from the menu on the left and click New to begin creating a new policy.
- Name the policy something relevant and click Next.
- Provide a Description if desired.
- Select an Operation Mode and click Next.
- Server: Ideal for application server backup due to application-aware backups, guest indexing support and flexible job schedule
- This is the only option for a Server OS, a Worksation Policy will fail to apply.
- Workstation: Designed specifically for end user's computers, laptops and office desktops. Ease of use and friendly job scheduling options
- This is the only option for a Windows Desktop OS, a Server Policy will fail to apply.
- Select a Backup Mode and click Next.
- Entire Computer
- This is recommended and will backup the entire system-state.
- Volume level backup
- This will backup an entire volume. However, the entire system-state will not be captured.
- File level backup
- This will backup individual files and folders. This is a good option for Workstation backups only.
- Select a Destination and click Next
- Select Veeam Cloud Connect Repository to send your data to your EvolveIP Cloud Repository
- Select your Retention Policy. This will dictate how many restore points are kept on disk depending on the frequency of your schedule.
- Click Advanced Settings to configure any addition settings you may require.
- We typically recommend not creating synthetic or active full backups unless you are keeping a lot of recovery points on disk as they consume a significant amount of disk space.
- Under Maintenance we recommend setting the Remove deleted items data after X days to allow removal of data from the system if Veeam Backup Agents are removed. This will help keep your data usage low, but will automatically delete the backups based on the amount of days selected.
- Under Storage we recommend setting Storage Optimization to WAN target when sending data to your EvolveIP Cloud Repository to keep your incremental backups smaller.
- You can enable encryption which will encrypt your backups at rest. All backups are encrypted end-to-end in flight when sending them to your EvolveIP Cloud Repository.
- Please note, EvolveIP cannot recover your encryption password, please store this in a secure location.
- Click Apply.
- Click Next.
- You can specify a backup quota. This is applied to each machine individually, if you specify 150GB, each machine can store up to 150GB.
- If you receive quota errors, this can be increased at a later time.
- It is best to set this to the largest amount of data you anticipate storing, or marking Unlimited quota.
- We do not recommend using a single tenant account for all computers.
- Click Next.
- You can enable a Backup cache. This will store backups locally on each system if they are offline. Each system that this policy is applied to must have access to the location entered here. If this is not specified and the machines are offline, they will retry their backup once online again.
- Click Next.
- Guest Processing can only be configured for the Server Operation Mode.
- If you enable application-aware processing the Veeam Backup Agent will utilize tools built into your operating system (Microsoft Volume Shadow Copy) to prepares applications for consistent backup, performs transaction logs processing, and configures the OS to perform required application restore steps upon first boot.
- You can utilize these features to process transaction logs, truncate SQL logs, backup and delete Oracle archived logs, backup SharePoint, and run pre and post scripts on the machines targeted by the backup policy.
- We do not recommend enabling file system indexing as it can negatively impact the system during the backup window and is not required to perform instant file level recoveries.
- Click Apply
- Click Next.
- Create a Schedule for the backups to run during and click Next.
- Review the Summary and click Finish.
- You can create as many backup policies to apply to different groups of computers you wish to backup.
| |