...
- Creating an Agent Profile
- Adding an Agent Profile to an Agent
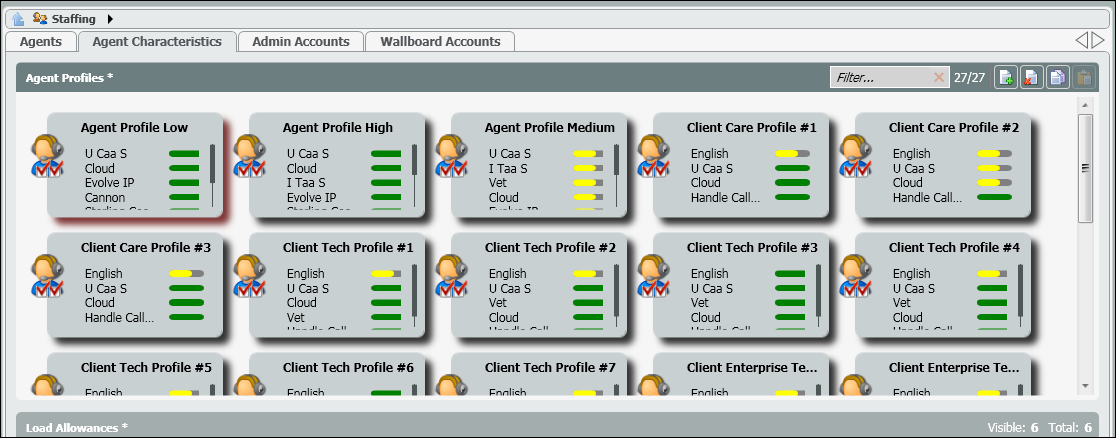
Creating an Agent Profile
- Select the add icon to add a new Agent Profile.

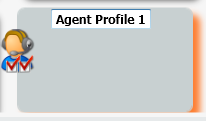
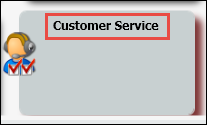
- A new Agent Profile will open. Enter in the name of the new profile.
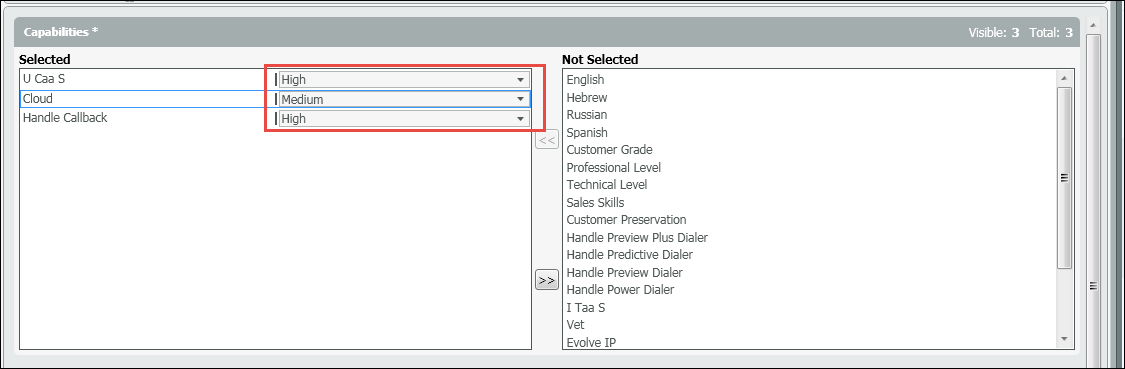
3. Drill into the profile to add the appropriate skills. All available skills will appear in the right hand column. Select the skills you wish to add to the new profile and add them to the left hand column.
...
4. Once all the skills have been added, select the appropriate efficiency for each skill. Agents can be skilled as High, Medium or Low. Each skill must be assigned a proficiency. If an agent is skilled High, they will be presented with calls that have been tagged with that Demand/Skill first, followed by Medium and then Low.
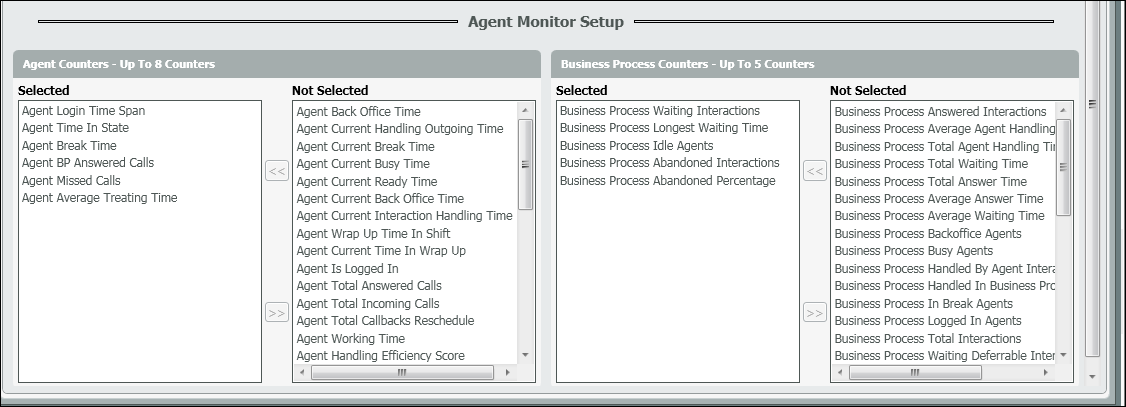
5. Underneath the Agent Profiles, is the Agent Monitor Setup. The Agent Monitor Setup, allows supervisors and admins to determine which KPIs/statistics they would like the agent to see when the agent’s Agent Monitoring screen is open. Each Agent profile can be setup with different KPIs to monitor.
Example:
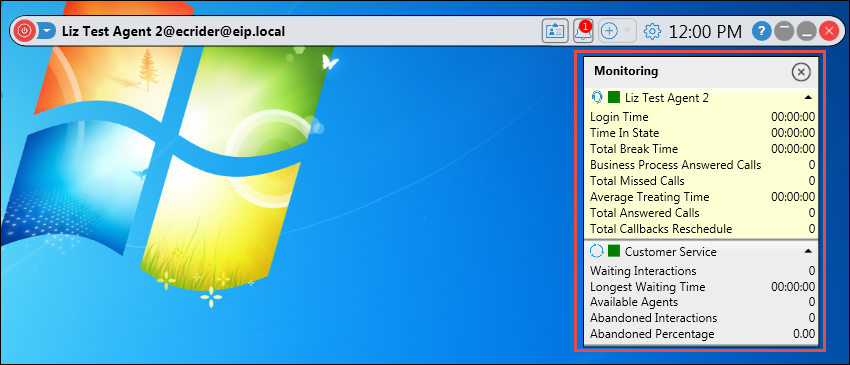
6. Each Agent Setup Monitor is setup with two options: Agent counters (KPIs) and Business Process counters. Up to 8 counters can be added to the agent column and up to 5 for the Business Process. Adding counters to each option follows the same process as adding skills to the profile.
Adding an Agent Profile to an Agent
- Locate and drill down into the agent you wish to add the profile on the Agents page.
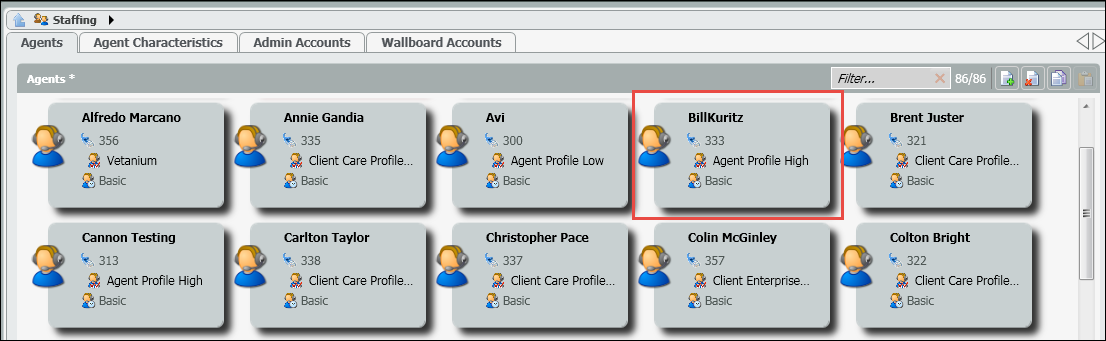
- Under profiles, search and select the profile you wish to assign to the agent.

- Deploy your changes.