...
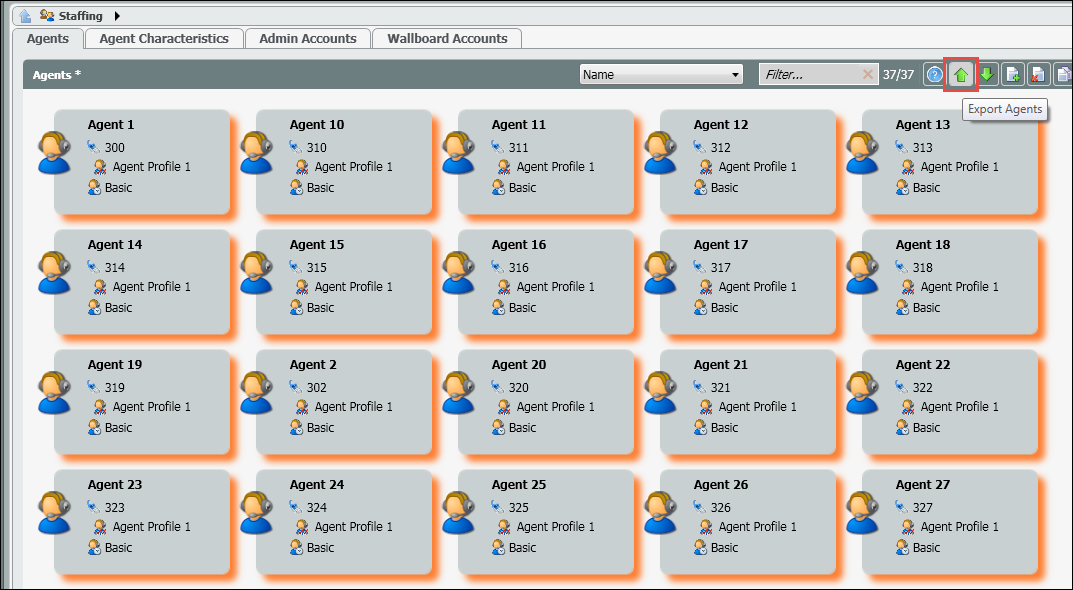
- Select the agents you wish to edit. Select Export.
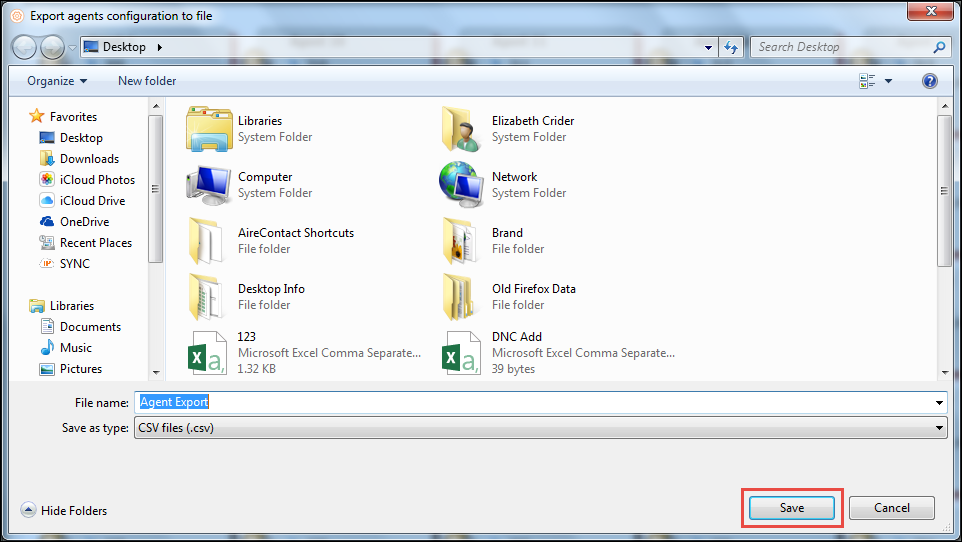
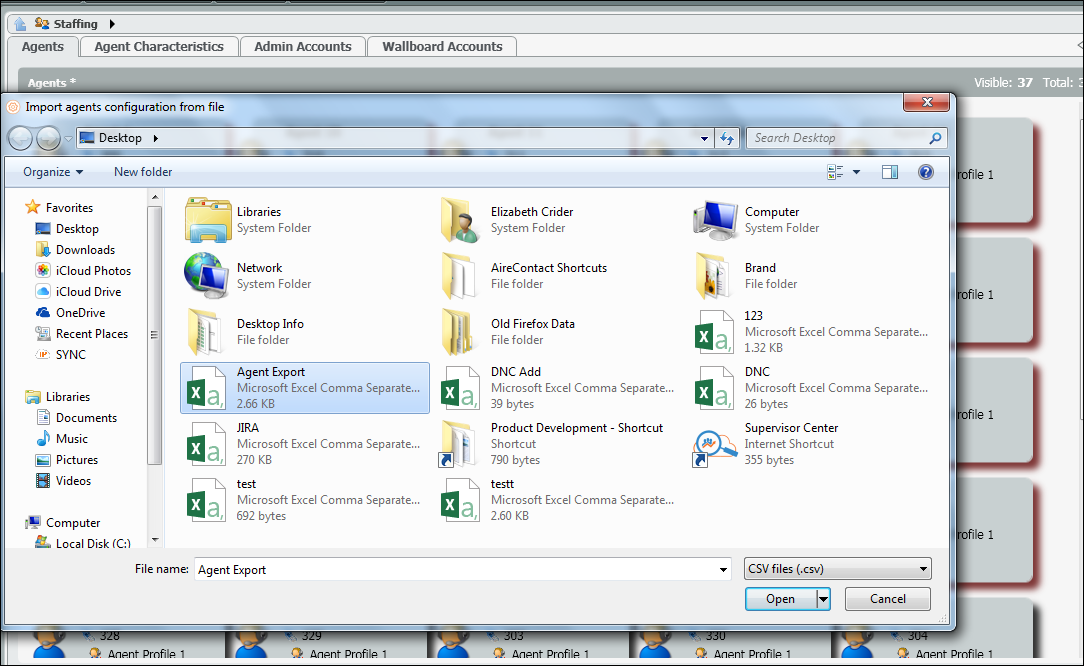
- Enter a file name. Save.
- Locate and open the exported file.
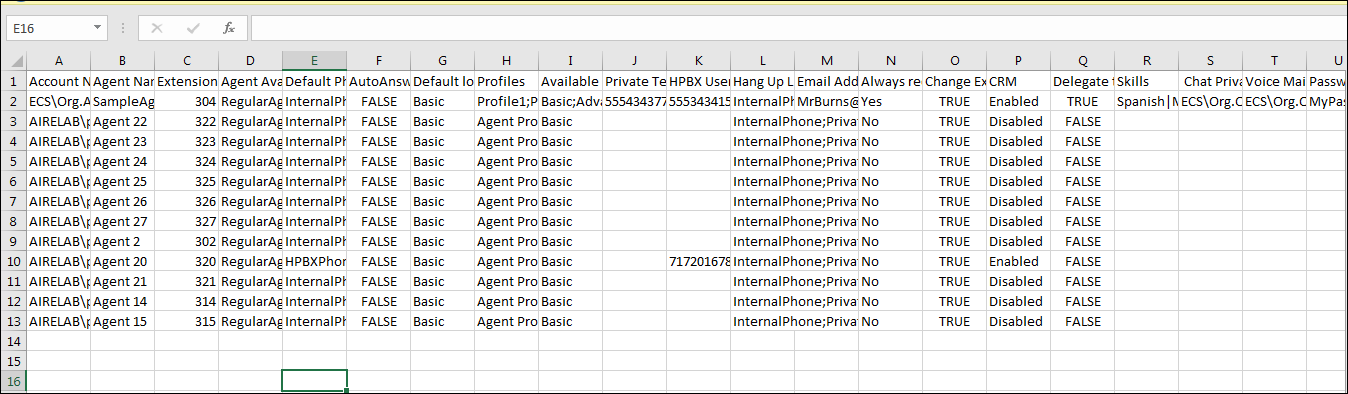
- Update any existing agents following the guidelines outlined above for any True/False, Yes/No, Disabled/Enabled options. Update any additional options including but not limited to Available Load Allowance, Password update, Skills, etc

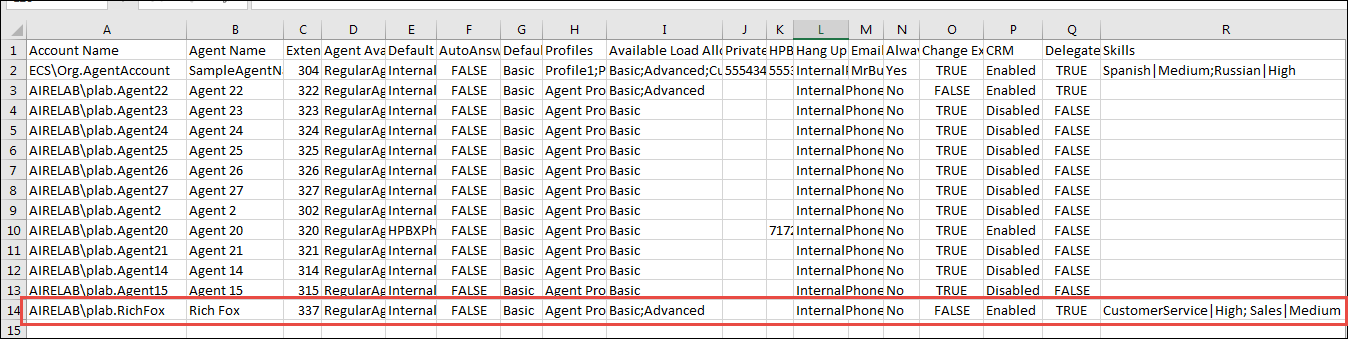
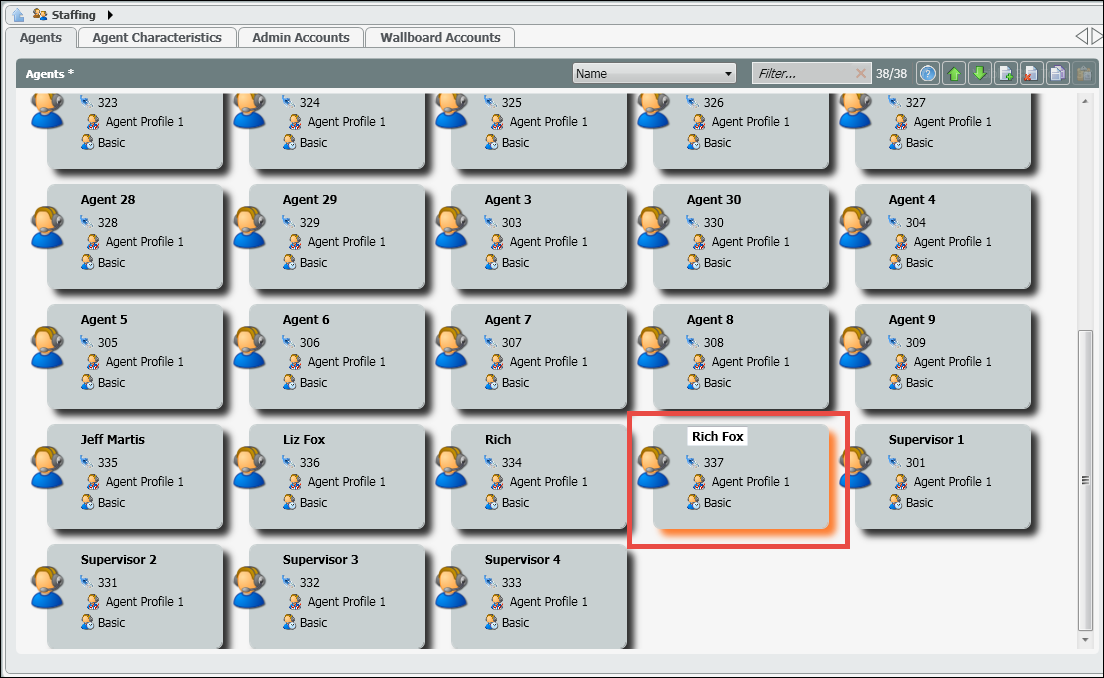
- If adding a new agent, enter in the new agents information on the next available column. In the example below a new agent was created along with a brand new skill and assigned proficiency within the exported file.
- Save all changes. Exit out of the file. You cannot import a file back into the Setup Client that is currently open.
- Select the Import. Locate and open the recently saved file.
- If all edits and newly created agents were done correctly, you will receive a Confirm Import pop up.

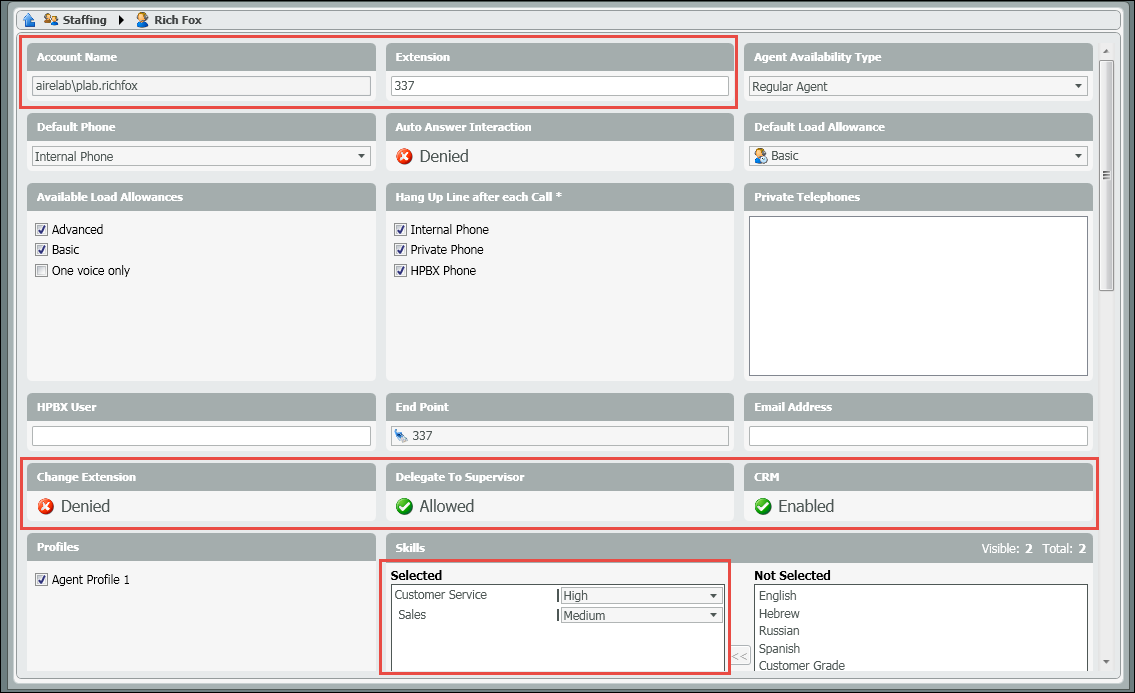
- The following screen shots show the newly created agent and the agents detailed profile. The profile highlights the agent characteristics that were different from the rest of the imported agents along with the newly created skills and proficiency’s
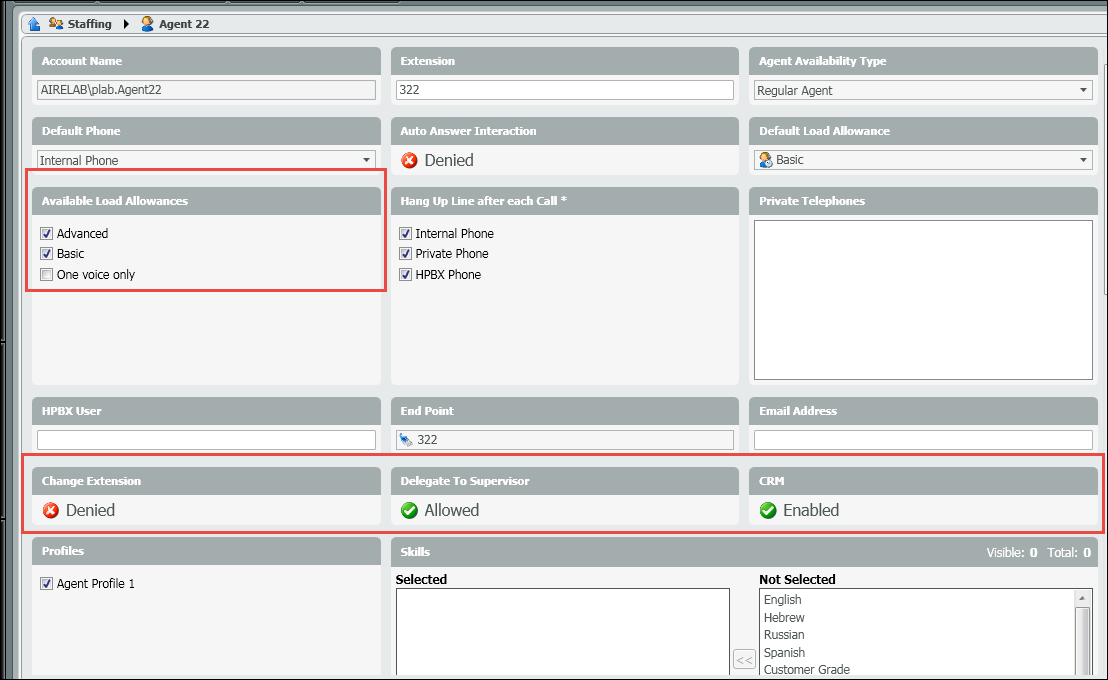
- The following screen shot shows the detailed profile of the existing agent, highlighting the characteristics that were updated on import.
- Deploy Changes
NOTE: The following fields must be unique when importing a file. If there are any duplicates, the import will fail.
- Account Name
- Agent Name
- Extension
- Private Telephone
- HPBX User