Users
The Users page provides management of user settings like voicemail, call forwarding and password resets.
- Users Landing Page
- Edit User Settings
Users Landing Page
Select the location you wish to view and edit. Select Telephony Setup and Users to bring up Users for that specific location.
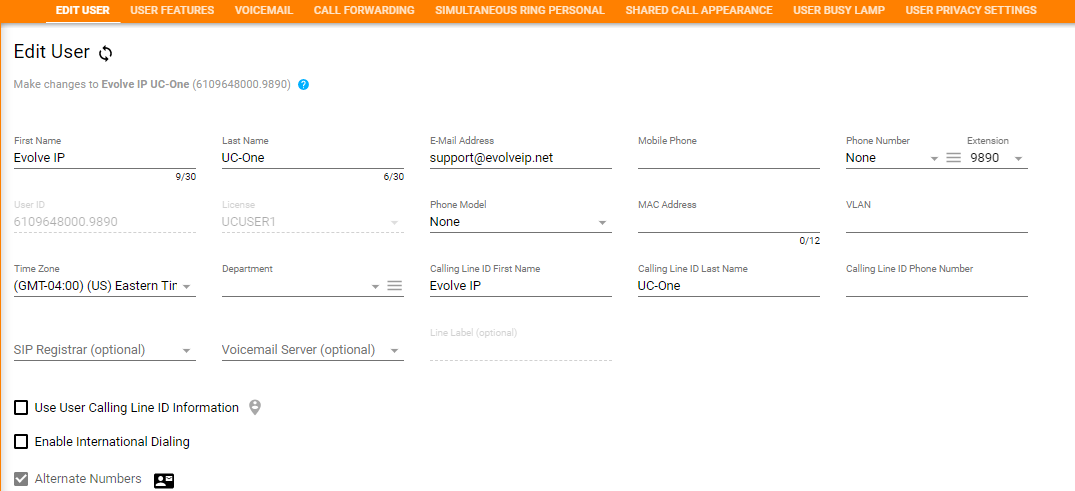
...
- First Name
- Last Name
- Email Adress
- Mobile Phone – If mobile phone number is entered it will appear in the Enterprise Directory
- Phone Number and Extension
- User ID – used to log in to various applications
- License Type
- Phone Model – model of phone assigned to the user
- Time Zone
- Department
- Calling Line ID First Name
- Calling Line ID Last Name
- Calling Line ID Phone Number
- Use User Calling Line ID Information – if selected user calling line ID will be used rather than the enterprise/group calling line ID
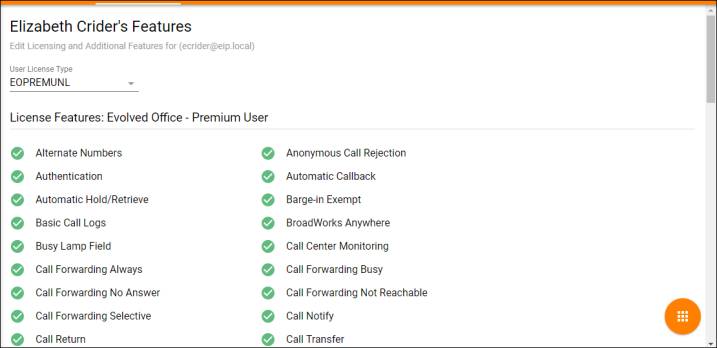
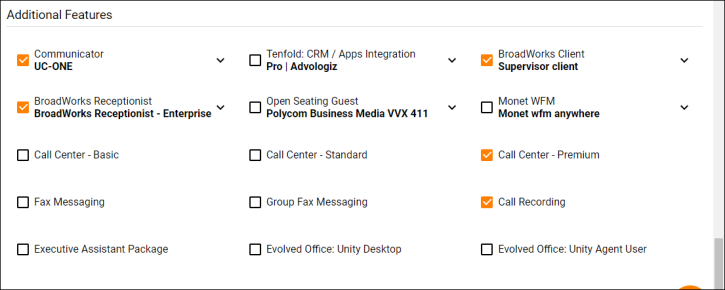
User Features
...
User Features is read only that shows all features assigned to the user based on their seat type. Additional features shows features assigned to the users as an add on service.
Voicemail
Mange Manage the users user's voicemail settings. Click Here to learn about about managing user settings.
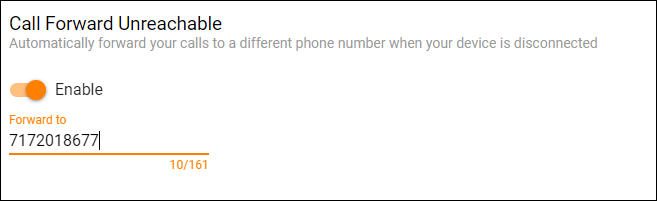
Call Forwarding
Manage users user's Call Forwarding Settings.
...
Call Forward Unreachable: Automatically forward your calls to a different phone number when your device is disconnected
Simultaneous Ring
Simultaneous Ring Personal allows you to list up to 10 phone numbers you would like to ring at the same time as your primary phone when receiving an inbound call. This feature is helpful when you are not at your phone but you would like your cell phone to ring when you get a call. Warning: if your cell phone or other phone has voice mail that picks up before your office voice messaging picks up, your voice mails could be on your cell phone messaging system!
...
Answer Confirmation Required – If enabled, the user will need to select any digit on their phone to indicate they want to receive the incoming call. This helps differentiate between an incoming personal call versus a work call.

Shared Call Appearance
Shared Call Appearance (SCA) allows you to have more than one device (or user) assigned to your user account/primary device.
...
- Alert all appearances for Click-to-Dial calls – his option ensures that the desk phone and shared line will ring when Click-to-Dial is executed.
- Allow Call Retrieve from another location – allows the user to dial a Feature Access Code/Star Code to retrieve an existing active call from another location.
- Allow bridging between locations – allows users to “barge in” on active calls between shared call appearances
- Alert all appearances for Group Paging calls – alert all appearances for Group Paging calls
- Multiple Call Arrangement – allow each of the user’s shared call appearance locations to be utilized while the user is on a call
- Enable Call Park notification – shows if a call is currently parked on the SCA line
- Bridge Warning Tone
- None
- Barge-in Only
- Barge-in only and repeat every 30 seconds
...
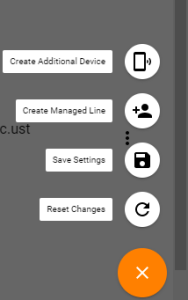
- Create Managed Line
...
- - This allows you to add additional line appearances on a
...
- user's handset to monitor other users within the organization. Please contact your CTA or Support to find out what phone type you have and the abilities to manage this.
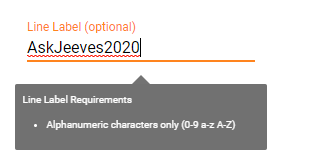
Line Labels
Line label is an optional field currently available to the Cisco Multi-Platform Phone series. This feature allows you to enter an alphanumeric character (0-9, a-z, A-Z) on the primary line and/or shared call appearances.
Use Case 1: Edit User (Primary Line)
Line Label (Optional) Field is greyed out because there is no Phone Model/MAC Address applied.
Step 1: Select a Cisco MPP phone model and enter a MAC Address to unlock the Line Label field

Step 2: Enter characters to reflect on the line label NOTE: ONLY alphanumeric characters (0-9, a-z, A-Z)
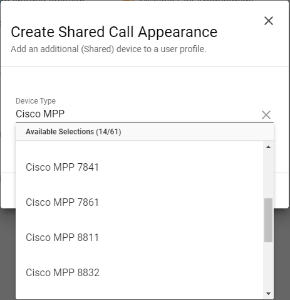
Use Case 2: SCA Line Label
The following settings are applied in the Shared Call Appearance TAB in OSSmosis 5.
Step 1: Select: Create Additional Device from ACTIONS
Step 2: Create an SCA Line Label for "Additional Device"
Step 3: Select a Cisco MPP series device THEN enter the total number of Line Appearances, Line Label, and MAC Address of the device being managed
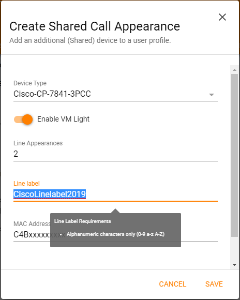
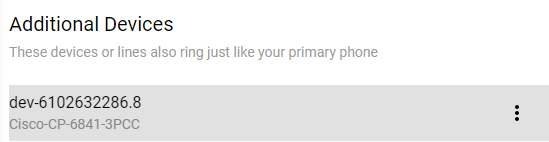
Use Case 3: Edit/Delete SCA Line Labels
The following instructions are applicable if a managed SCA requires a Line Label EDIT or Delete
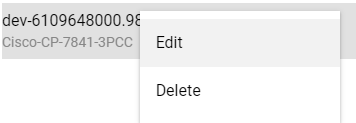
Step 1: Select the managed SCA from the Additional Devices and select EDIT to update the SCA Line Label OR select DELETE to REMOVE THE SCA and Line Label
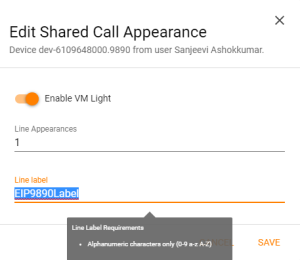
Step 2: Edit the SCA Line Label to another character and press SAVE NOTE: ONLY alphanumeric characters (0-9, a-z, A-Z)
Busy Lamp Field
Busy Lamp Field allows you to create a list of users to monitor on your handset. Please contact your CTA or Support to find out what phone type you have and the abilities to manage this.
...
- Select the action icon and select Add Users
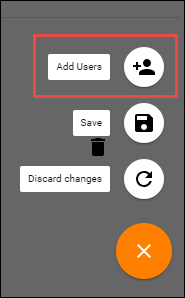
- Search for User by User Name, Location or Department. Select User and select Save.
- The users will now show up under the Monitored User List. The list of users can re-ordered according to end users preference.
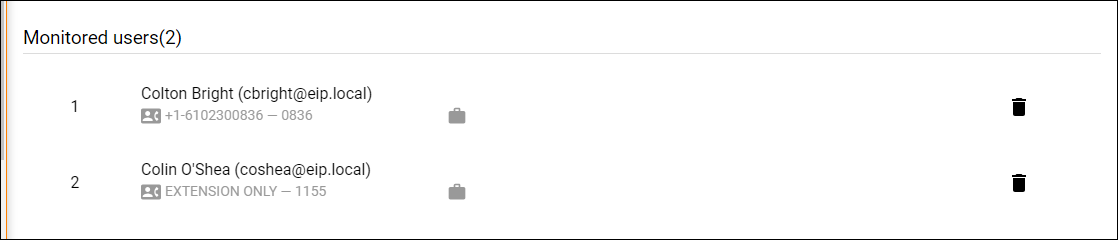
- If the users do not automatically show up on the users phone, reboot the phone.
User Privacy Settings
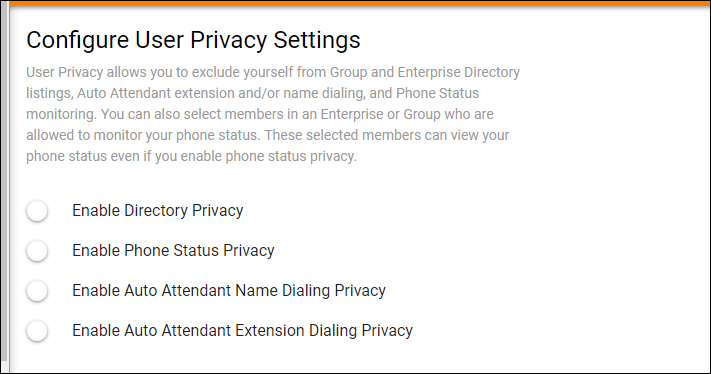
Allows users to exclude themselves from the Group and Enterprise Directory.
...