Clearlogin Administrators can authorize contacts using Clearlogin
Authorized contacts are individuals within your organization that you have authorized to contact Evolve IP with technical, billing-related or administrator-related issues. They can do so by
- ...using The Evolve IP Help Center
- ...emailing support@evolveip.net
Please watch the video below or see follow the easy instructions provided below with the supplemental GIF animations to learn how to add or and remove authorized contacts.
| Table of Contents | ||
|---|---|---|
|
Adding Authorized Contacts
You can edit the user's Access Rules from their user account. This will require Clearlogin administrator access. This is a specific URL for your company, for example "yourcompanyname.
| Widget Connector | ||||||
|---|---|---|---|---|---|---|
|
| Note | ||
|---|---|---|
| ||
If you don't know the URL to your company's Clearlogin instance, please review Accessing your company's Clearlogin URL |
| Note | ||
|---|---|---|
| ||
A user must exist within Clearlogin in order for them to become an Authorized Contact. If the user doesn't exist yet please follow Adding Users to Clearlogin and then come back to this page. |
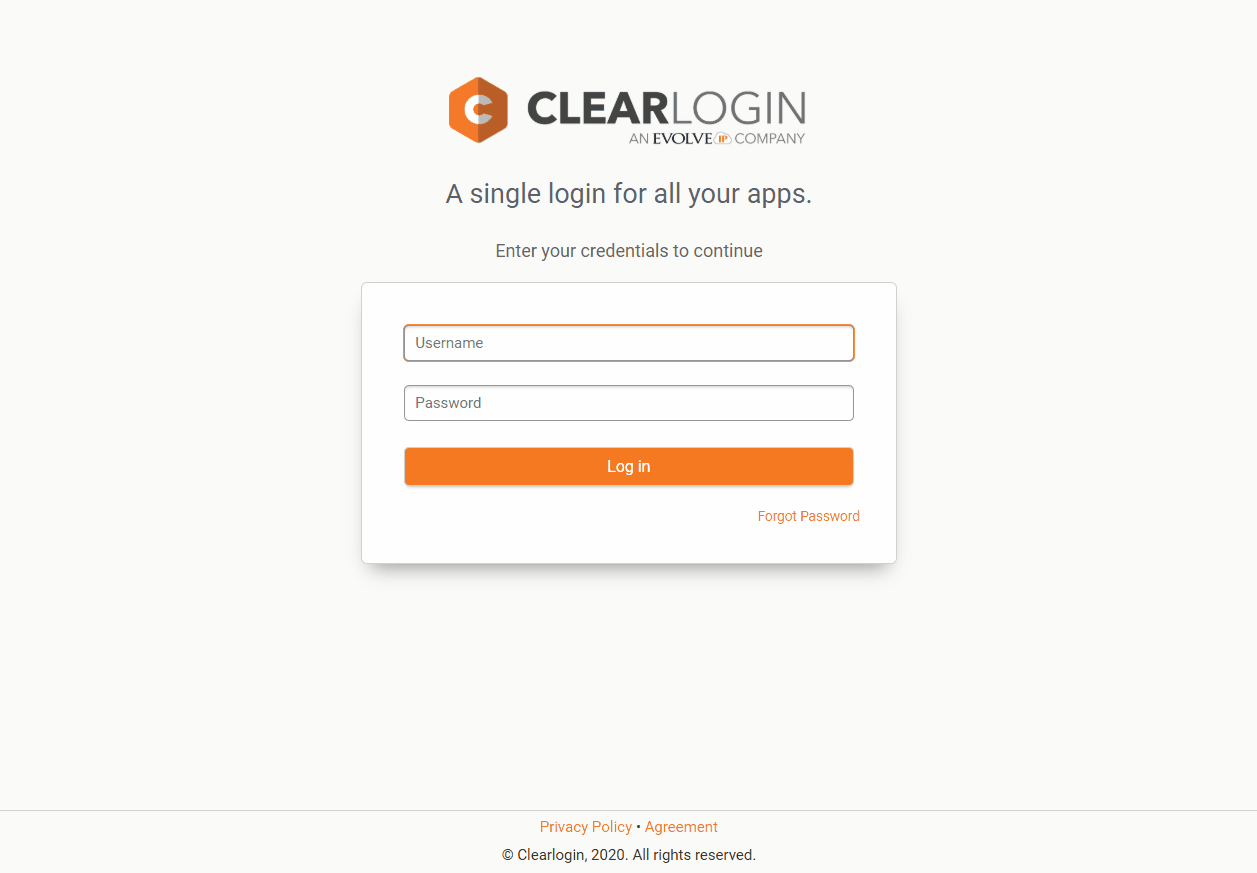
- Login to your Clearlogin dashboard.
- Click the padlock button located at the right-hand side of the Clearlogin site ribbon.

- You can also access Clearlogin administration directly by going to admin.clearlogin.com.
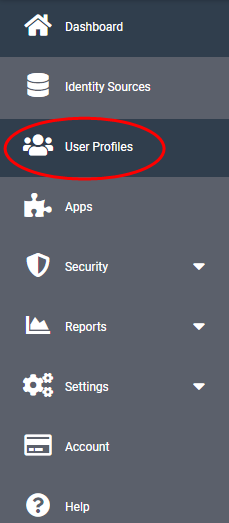
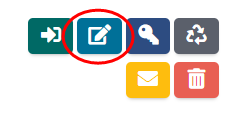
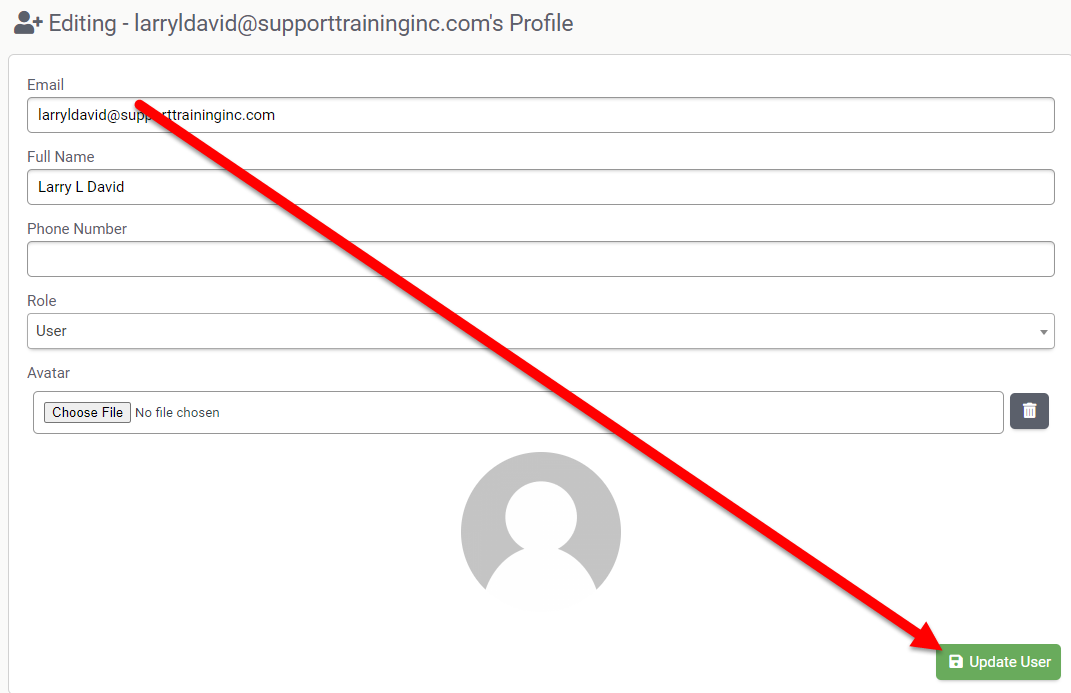
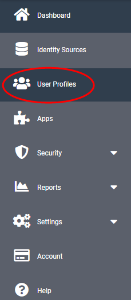
- Go to User Profiles, locate the user and click the Edit button to edit their account
- The "Editing" page will show. Scroll down until you see the "Access Rules" section
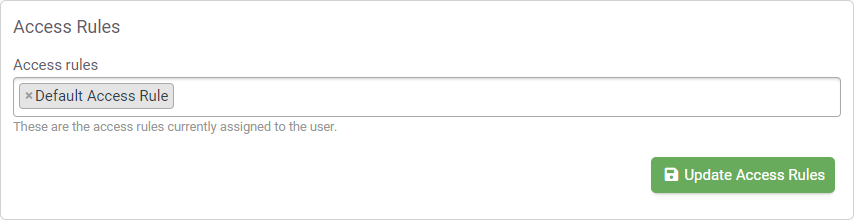
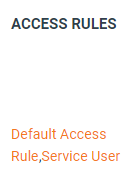
- Click in the "Access Rules" field to see a list of default Access Rule options, and choose "Service User." The click the Update Access Rules button.
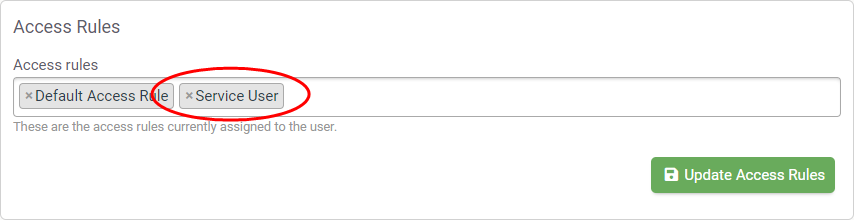
- Next, scroll to the top of the page and click on the Update User button. This step is required.
- The user's account will now show Service User as an additional access rule.
- Instruct your user/authorized contact to login to their Clearlogin dashboard.
Once this is completed the user should have access to the Help Center tile which will allow them to submit support tickets via The Evolve IP Help Center. They can also submit requests by emailing support@evolveip.net.
| Warning | ||
|---|---|---|
| ||
If this is a new user then they must still set their password to begin using their Clearlogin account. Please review Adding Users to Clearlogin and continue to Step 3. |
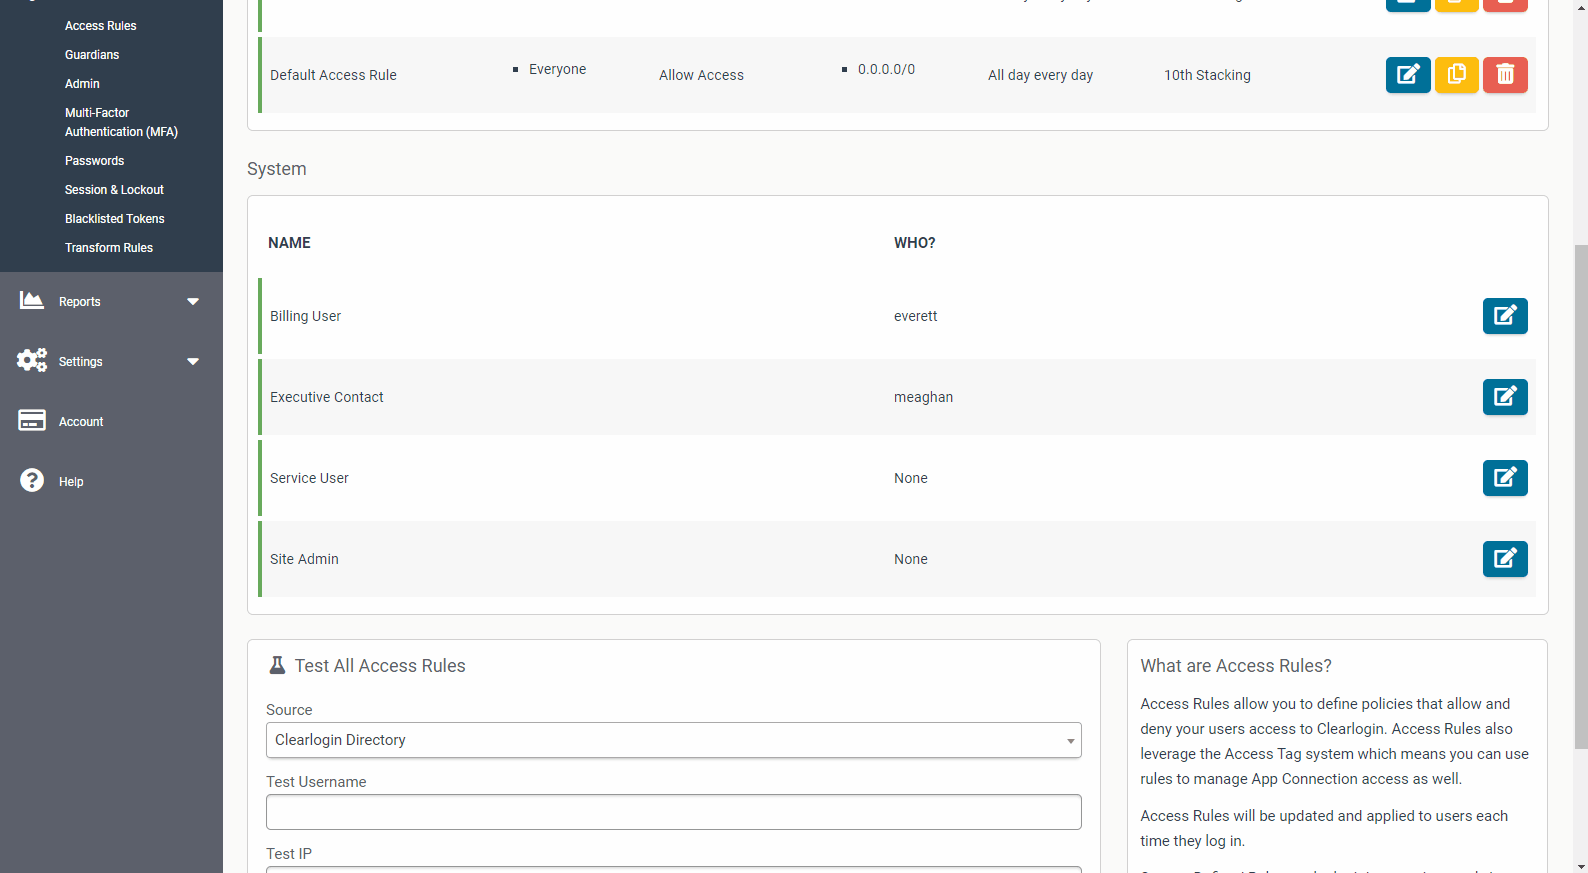
Adding Authorized Contacts from the Access Rules screen
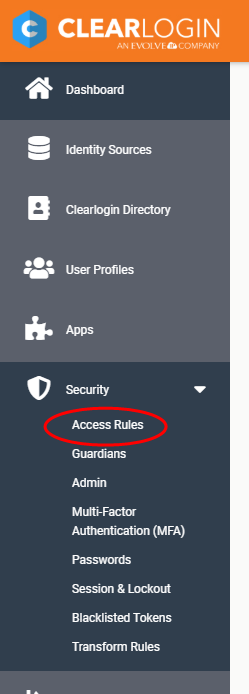
Security > Access Rules
You can also add Access Rules to contacts from Security > Access Rules.
Login to your Clearlogin dashboard. This is a specific URL for your company, for example "yourcompanyname.clearlogin.com."
- Click the "Admin Site" button at the top of the screen (this will only show for administrators)
Adding Contacts
- Go to admin.clearlogin.com
- Go to Security > Access Rules

- Scroll down to "System"
- Click the Edit Access Rule button
 for the group that you wish to edit.
 - Add your Authorized contacts.
- Click "Update Access Rule."
- Now, go to User Profiles, locate the user and click the Edit button to edit their account
- Click on the Update User button. This step is required.
- Instruct your user/authorized contact to login to their Clearlogin dashboard (yourcompanyhereyourcompanyname.clearlogin.com) to establish his or her account.
- finish the process.
They should now have access to the Help Center tile to access The Evolve IP Help Center.
Removing Authorized Contacts
You can remove contacts from a User's profile by simply clicking
Removing Contacts
the "x" symbol next to the
contactAccess Rule that you wish to remove.